Local Adjustments are a means for photographers to enrich their images and improve their readability.
Global corrections and Local Adjustments offer the same types of functionality.
The latter complement those already performed, but their action is limited to an area defined by the mask.
Local Adjustments are the cornerstone of some development software and, in fact, appear fundamental for some users.
PhotoLab did without it for a long time (DxO Optic pro, its precursor, did not have it). If you look closely, the algorithms used for the different global corrections apply their effects locally.
The development of photos with PhotoLab is based on the global processing of the image.
Only when this first mode of correction mode has been pushed to the limit, using the most powerful tools, that Local Adjustments must be implemented.
They allow the photographer to add the creativity, or the best readability, that he wants to bring to the image.
This practice can be confusing for the user coming from other software. However, it is logical and relevant.
In the tutorial dedicated to beginners in digital image development, we have seen:
The user spontaneously has in mind to reinforce the presence of the subject while it is sometime appropriate to decrease the importance of secondary elements.
The corrections available in PhotoLab are designed to interact with each other. If the complement to be provided is significant, it is therefore more qualitative to optimize the image to highlight the subject before using the Local Adjustments.
See the tutorial “Getting started with PhotoLab – Taking ownership your own image”
A Local Adjustment is performed in three steps.
1- Choose the appropriate mask type
2- Create the mask, define the area to be corrected
3- Correct the masked area
Choose mask type
There are several modern approaches to making Local Adjustment masks.
Some software editors have worked on shape recognition.
DxO has chosen the path of selection by content; by density (brightness, contrast) and color.
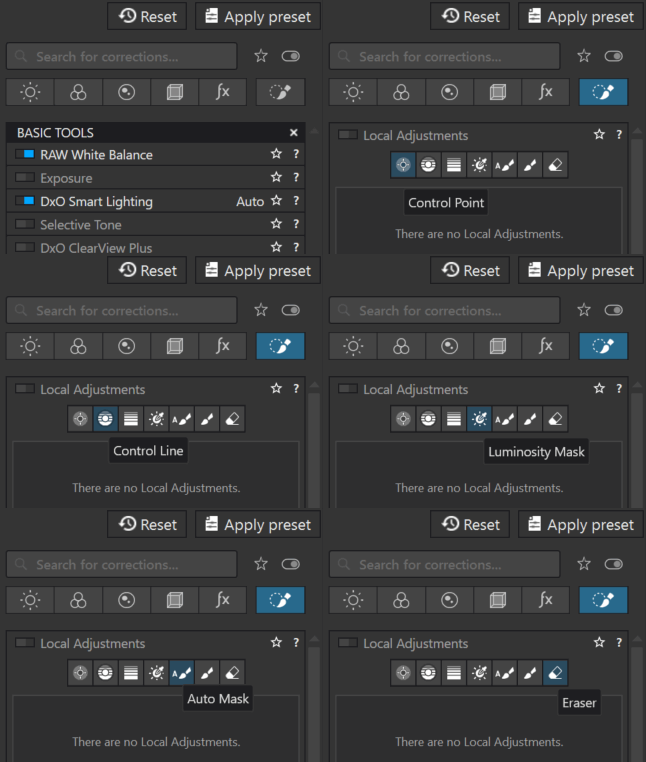
DxO offers six masks types and an eraser to resume masking. They each have their own field of application.
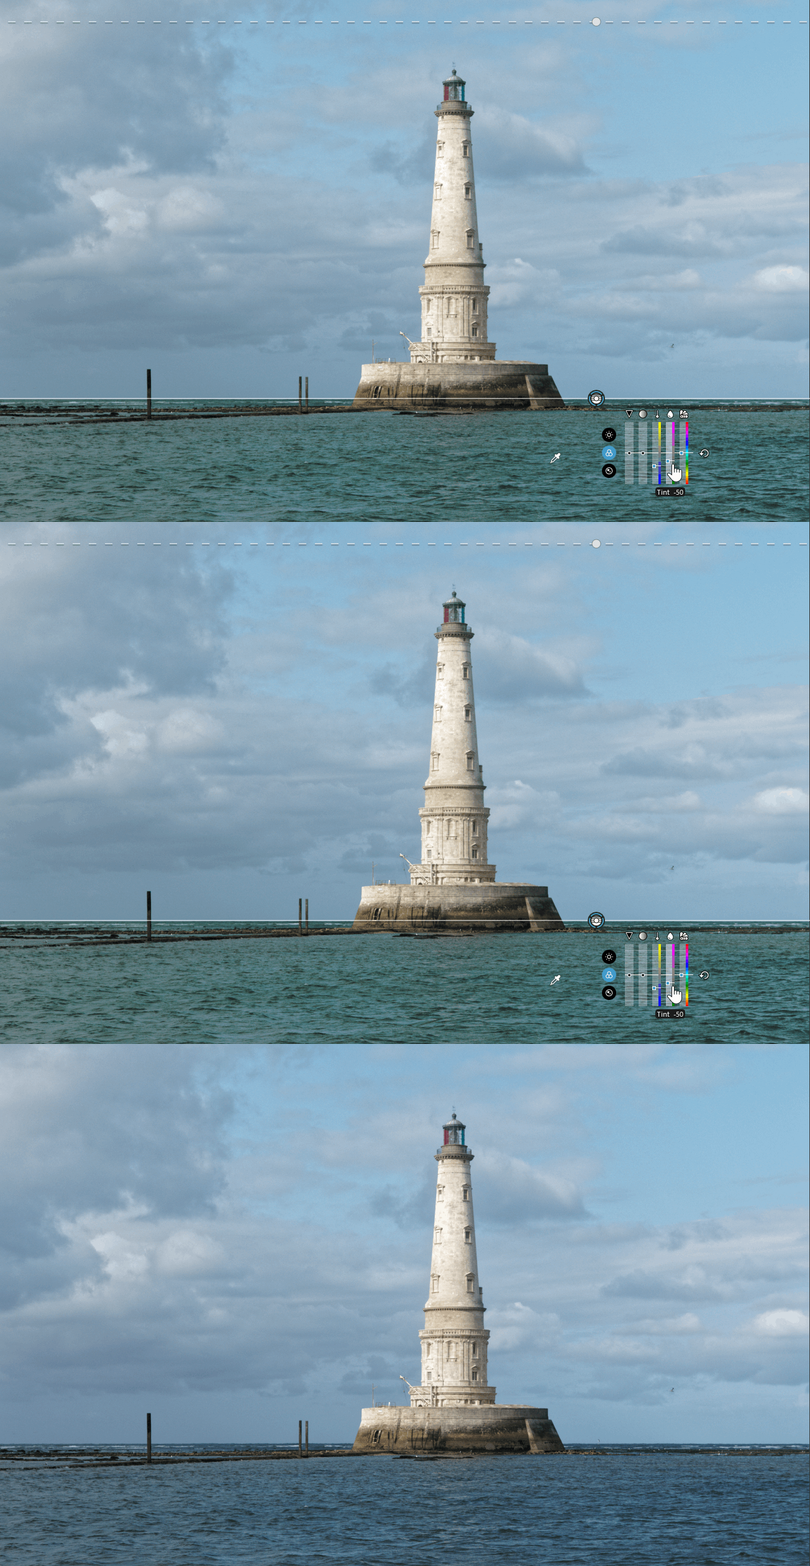
* The Control Line is a graduated filter applied to pixels similar to the collected area.
it’s the versatile mask, the one to choose. It makes a very discriminating selection according to the structure of the desired area.It is unparalleled in its ability to change the density of an area, distinguish between two close color tones, cancel out a color cast or establish the color balance of two light sources.
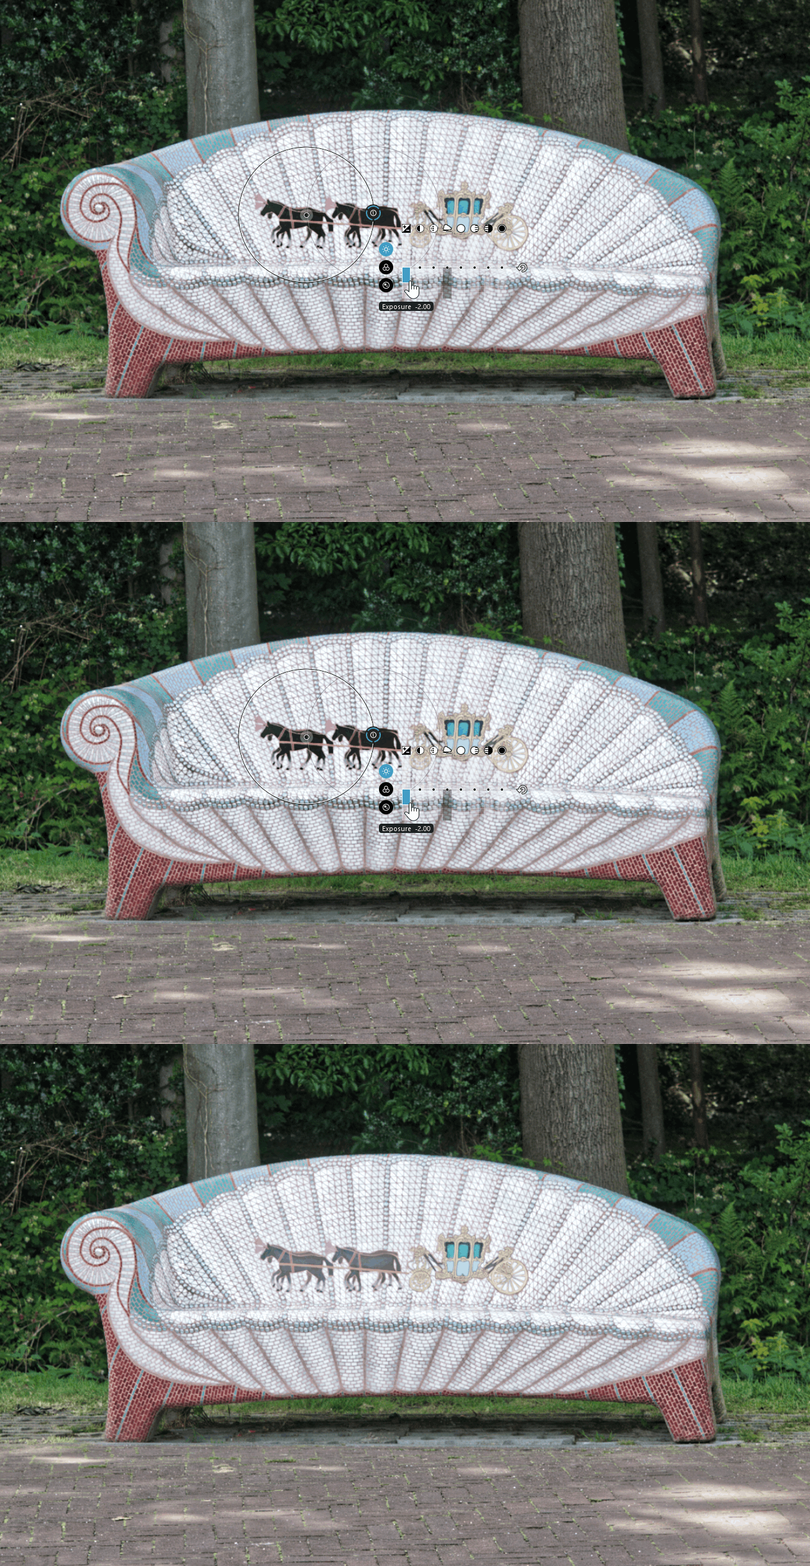
* The Control Point performs retouching on pixels similar to the collected area. Inherited from Nik Collection, it has contributed to the success of PhotoLab’s Local Adjustments. However, it is often misunderstood, and in fact, misused.
It is suitable for isolating complex shapes but not for creating an extended mask (e.g. the sky).
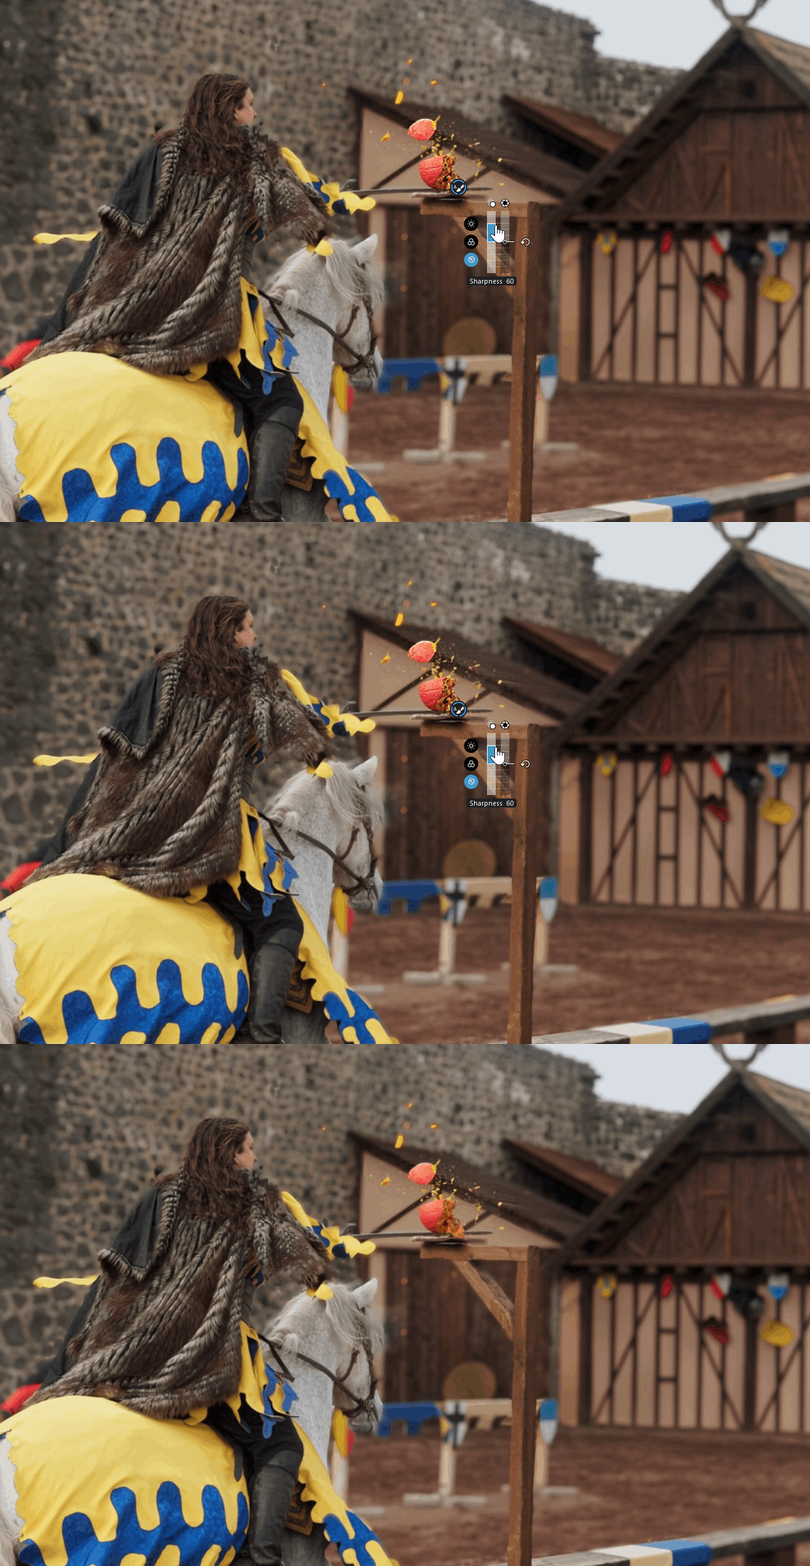
* The Auto Mask is used like a brush that automatically detects the edges of the subject.
It is ideal for detailing an object or isolating a face (or a person).
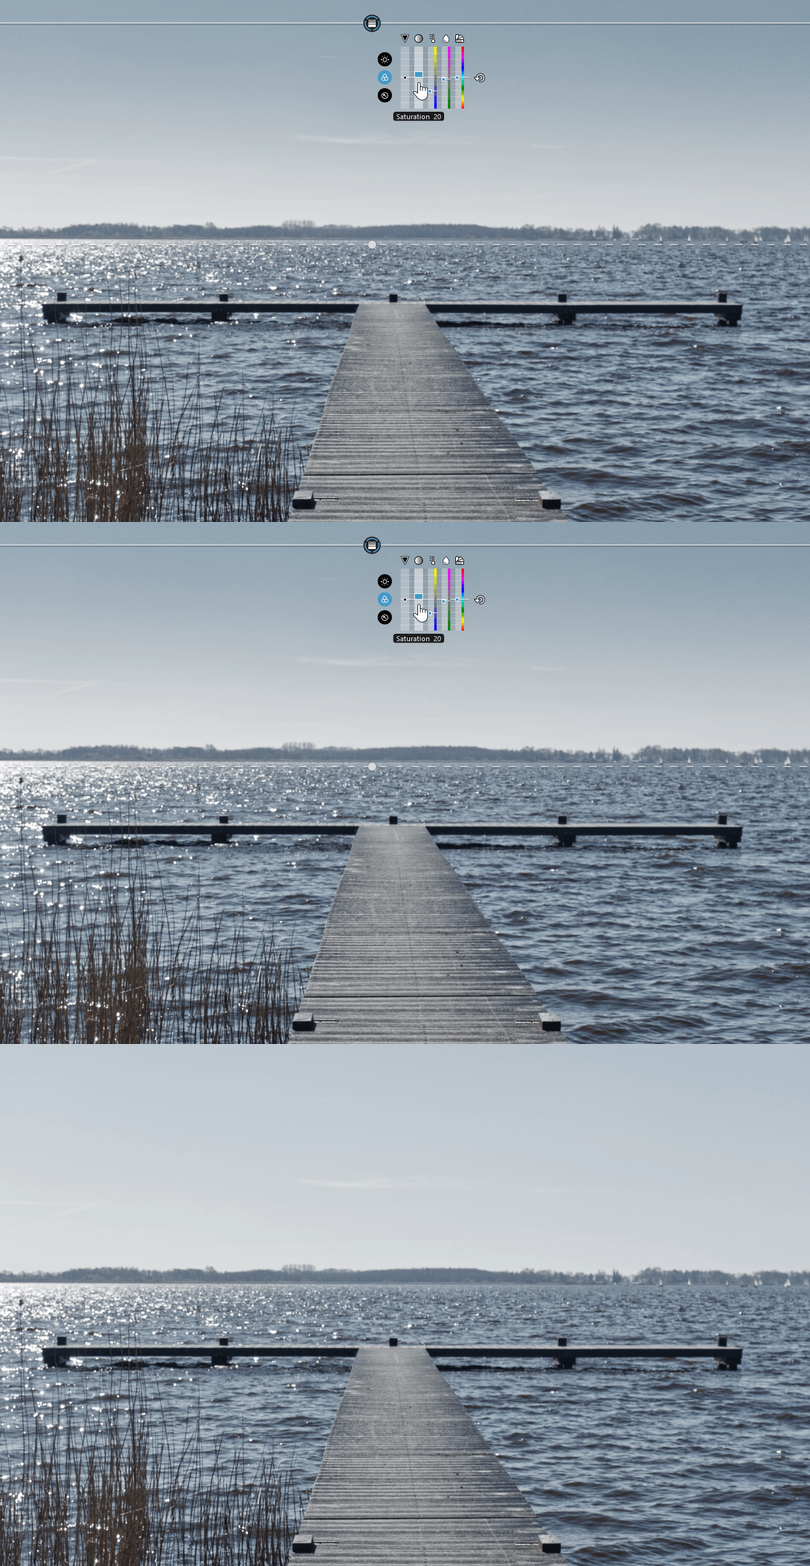
* The Graduated Filter simulates the effect of a graduated filter placed in front of the lens.
This basic type of mask has to compete with the control line.
Sky correction is its domain.
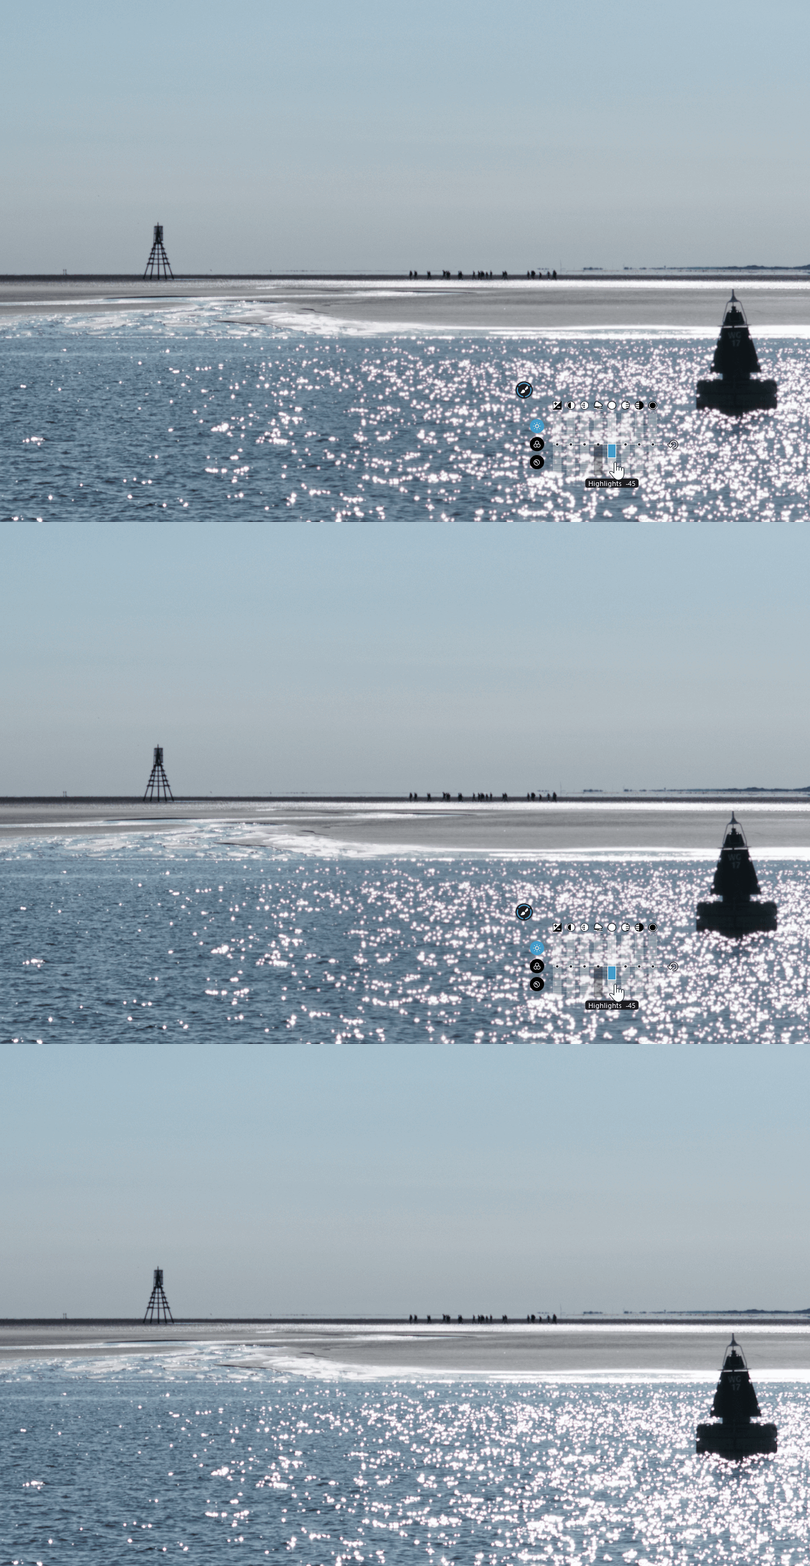
* The Brush is used to paint the retouching. The outline of the mask is progressive, more or less distinct.
It is very useful for changing the light tone of an approximate area.
It is mainly used to specify the shape of other masks, by enlarging or reducing their surface area.
* The eraser is also a brush accessible via the last button.
Each mask type is presented individually on the following pages.
Create a mask
Define (or draw) the mask to specify the area to apply adjustments locally.
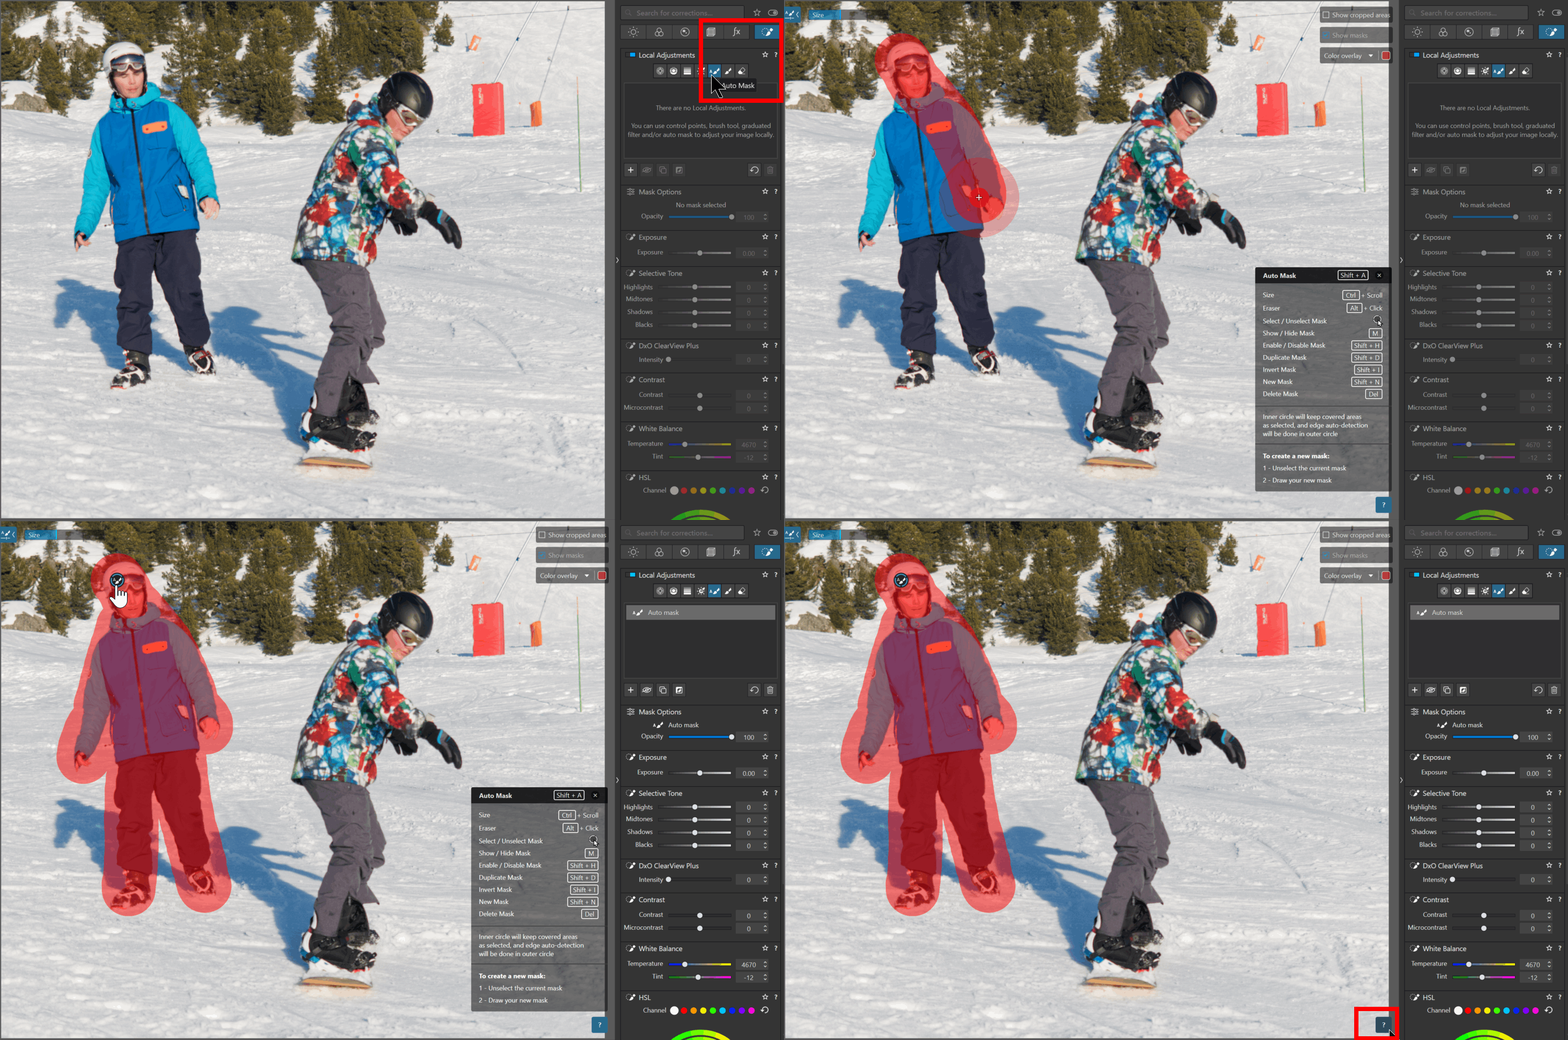
– Click on the “Local Adjustments” icon in the SmartPalette to enable the function
– Choose the mask type (e.g. the brush) to create the first mask
– Hold down the mouse button to paint the area to be adjusted
– Release the button, the marker (the mask symbol) appears
* The masked area is shown in color (color and opacity can be modified).
* No need to draw precisely when first creating a mask. The mask can be refined after making adjustments.
* Clicking the question mark (H key) activates – deactivates the help panel.
For higher zoom levels, when a tool mask is selected, it is no longer possible to pan by click-and-drag (moving within the image).
– Press the space bar to access it
The size of a mask brush does not scale with the zoom level.
This provides two ways to adjust the size of a brush in relation to the area being drawn on:
– Change the size of the mask brush with Ctrl+ mouse-wheel
– Zoom in on the image to enlarge it, therefore making the brush smaller in relation to the area painted on, gaining precision … and the opposite
Correct the masked area
Perform the first Local Adjustment.
– Darken (e.g.) a character
Show Mask check (M /Shift+ M) allows you to see / hide the current mask.
Since PhotoLab 7.5 the hide / show mask option becomes available after a first adjustment is made.
– Move cursor away from window to hide tools
Toggle between mask definition and associated corrections.
– Refine mask (e.g.) erase
– Select the eraser tool OR
– Press the ALT key
– Move cursor away from window to check conformity
* Several corrections can be performed on the same mask.
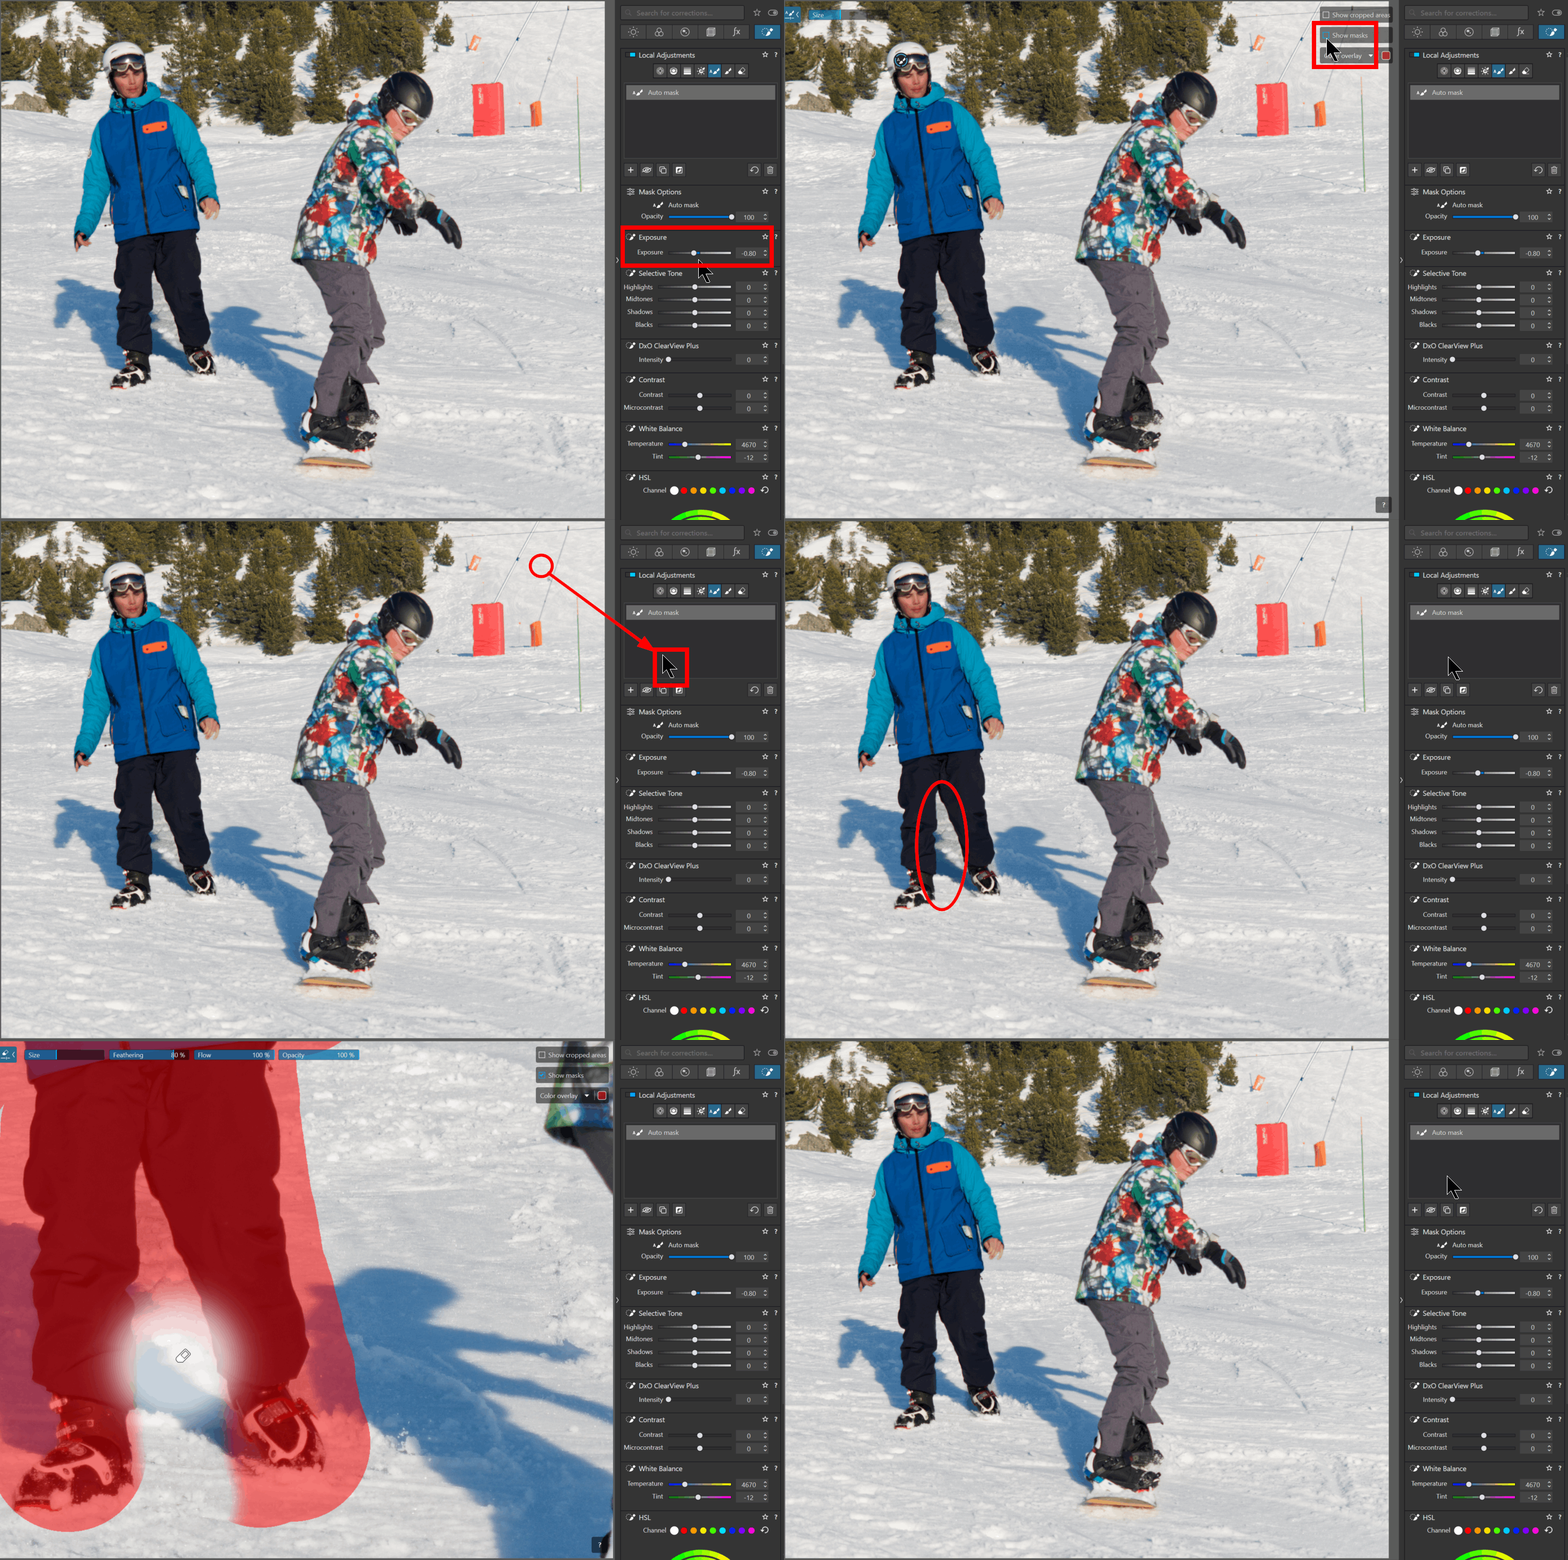
See the sequence of actions in the article on the next page Local Adjustments – Practising Local Adjustments
TuToDxO.com – All rights reserved – tous droits réservés
