Sommaire
Local Adjustments allow you to apply the same corrections as Global Corrections by completing them over an area defined by a mask.
The mask creation procedure was introduced in the article on the previous page Local Adjustments – Starting Local Adjustments
As we have seen, Local Adjustment is a three-step process.
1- Choosing the right type of mask
2- Create the mask
3- Correct masked area
In order to study the following situations, create a set of Local Settings
– Click on the Local Adjustments icon in the SmartPalette to start the function.
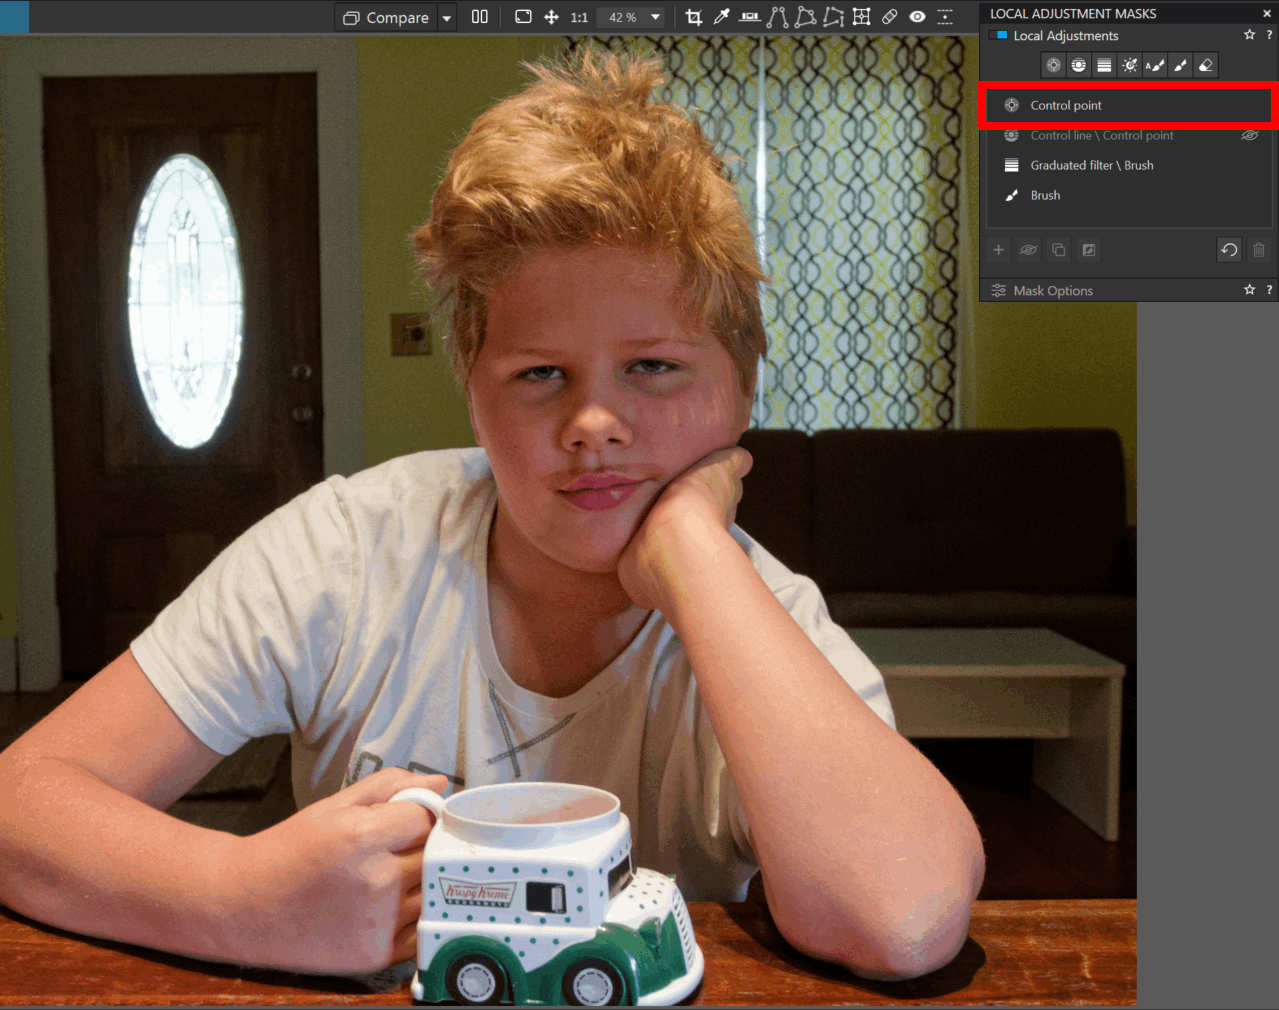
– Choose a mask type to create the first mask
– Define the area to be corrected
– Make a correction
Repeat the procedure with several mask types.
Display masks
Displaying masks requires that one of the mask types (e.g. Brush) is active.
This is irrespective of the Show mask setting.
Display and review the area of masks
– Enable one of the masking tools (any one)
– Hover over (with the cursor) a Local Adjustment in the list
The mask’s area of influence is highlighted as a gradient.

A mask’s area of influence is displayed as a gradient according to its intensity.
– Select a mask from the list of Local Adjustments OR
– Click on the mask’s icon (in the editing window)
* Show Masks checkbox (M /Shift+ M) allows you to display / hide the mask.
* Color overlay, shows the mask superimposed over the image.
* On the other hand, Black & White shows only the area of influence in grayscale.
The rest of the image is hidden.
The details of the image in B&W only show with masks that have an eyedropper or Control Point.
The options are found in different locations : top right for Windows, bottom right for MacOS.
* Move the cursor away from the viewing area to stop seeing the mask icons.
* Clicking the question mark (H key) shows / hides the help panel.
Press Esc (or Enter) key to deactivate all masks.
Depending on the type of mask, it can be easier to make a quick adjustment and then go back to refining the mask.
Don’t hesitate to go back and forth between the mask itself and the result of associated adjustments.
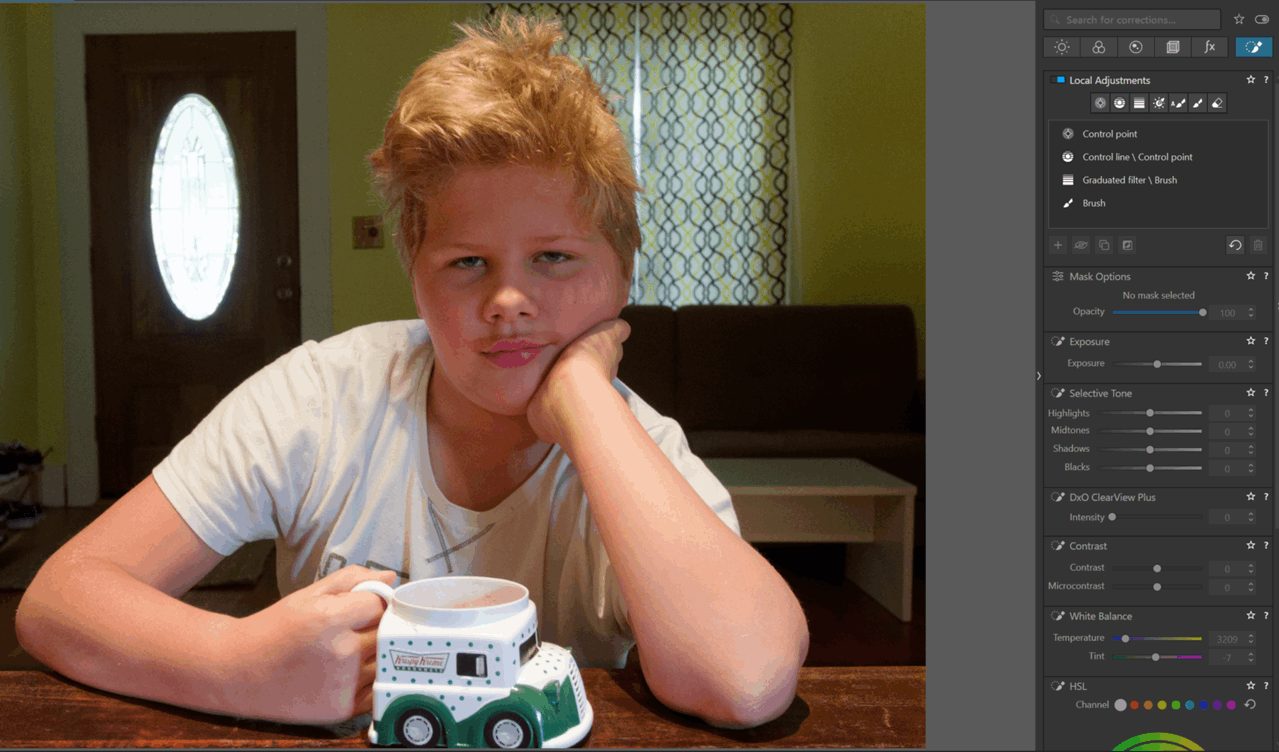
Correcting locally
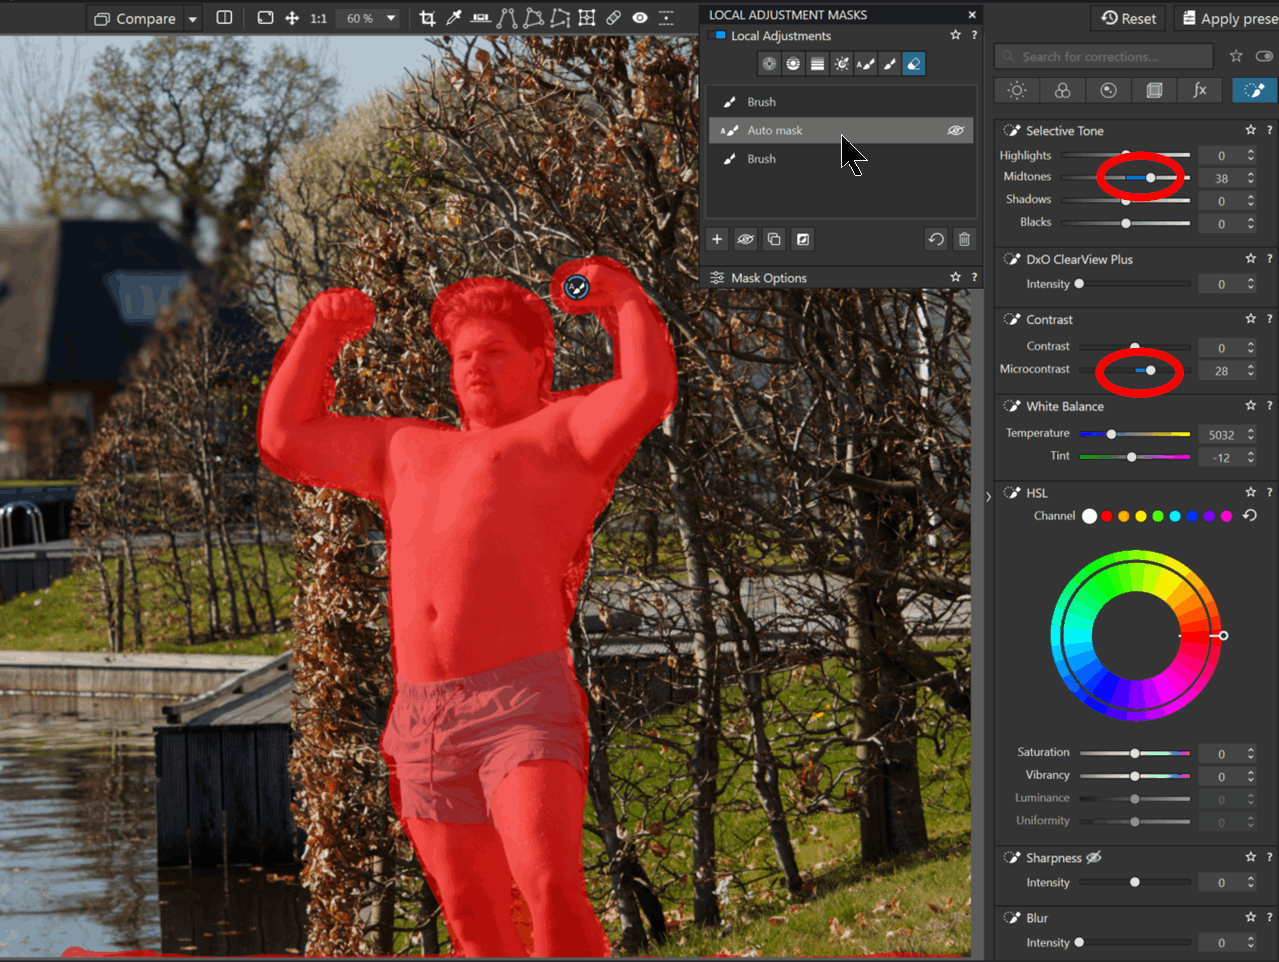
Corrections can only be made to one Local Adjustment at a time.
– Activate a Local Adjustment by clicking its name in the list
– Correct the image
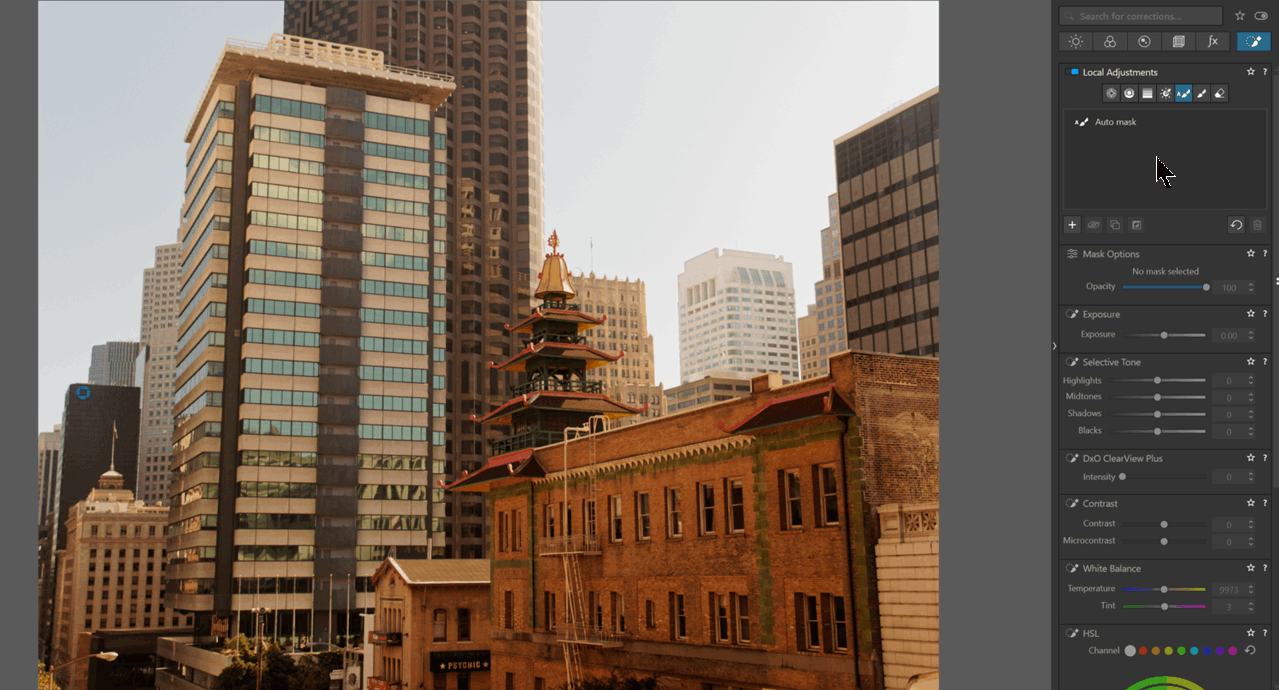
A Local Adjustment can carry several corrections.
* Exposure: Adjusts brightness
Global AND local corrections are cumulated within the total range of ±4 EV.
* Selective Tone – Highlights, Midtones, Shadows and Blacks
* ClearView (PhotoLab Elite Edition only)
* Contrast and MicroContrast
* White Balance (raw only)
This adjustment is applied according to the absolute value (degrees Kelvin) independently of the global correction setting.
* HSL – Vibrancy and Saturation
Collection dropper is not available.
* Sharpness: Increases or decreases sharpness enhancement
This adjustment corresponds to the Intensity slider in the “unsharp mask” function.
Beware of over-accented which happens very quickly !
The result is visible on the screen only at a zoom value of at least 75%.
* Blur: This exclusive feature to local corrections applies a blur effect.
It is very interesting to simulate the shallow depth of field of large aperture lenses.
The quality of the blur is inferior to that of the Viewpoint’s “Miniature Effect” function.
Local corrections complement global corrections made previously or at a later date.
Local corrections should be as low-intensity as possible.
– Use Compare mode with a lower value
– Return on the image a little later to validate the correction
Check application of local corrections
* To hide masks and see only the corrected image, move the cursor outside the editing window.
To independently check the contribution of a single Local Adjustment
– Activate a Local Adjustment
– Click the eye in front of the mask name OR
– Right-click Activate / Deactivate (Ctrl+ H) OR
– Check / Uncheck the button at the bottom of the window
We have seen that it is more qualitative to correct the subject globaly, and then blur the rest of the image, rather than reinforcing the subject’s presence with local corrections.
On the other hand, it is not possible to check the contribution of a single correction (e.g. exposure) if the Local Adjustment contains several.
– Select a Local Adjustment
– Double-click on the cursor to reset the correction. Compare
– Undo action in history (OR Ctrl+ Z)
* The quickest way to check that all local corrections have been applied is to uncheck the blue box in the title.
* Use the button COMPARE
– Activate a mask type (it doesn’t matter which one) – Necessary condition
– Press the button COMPARE (Ctrl+ D / D) – “All corrections except Local Adjustments”
The display toggles between the image with Local Adjustments applied and the image as corrected with Global Adjustments only.
This is a design error.
When the Local Adjustments feature is being edited, the comparison mode should always show the image with and without local corrections, whether a mask type is activated or not.
Make sure this option is enabled!As a reminder, in the Global environment, the default comparison is based on “no correction“.
The main window (viewer) can also be split in two.
– Click the split icon in the upper toolbar to the right of the COMPARE button (Ctrl+ T / C)
– Double-click the cursor for a horizontal split
Masks Options
* A mask can be completed or sketched with precision.
See the detailed presentation of each mask type on the following pages.
* The mask can be moved by clicking and dragging its indicator.
It is sometimes necessary to reposition it when the image has been geometrically modified by perspective correction.
* Check “Show cropped areas” to position the dropper outside the frame.
* Opacity – Mask Options, available for each Local Adjustment, is to reduce its influence. It is useful for :
– Weight the setting without unbalancing the set of corrections applied
– Compare copies (Duplicate) to find the right dosage
Local Adjustments commands are right-clickable.
* Duplication (shift+ D) of a Local Adjustment creates a copy that retains all attributes; masks and corrections.
– It is useful for applying different corrections to the same mask.
– It offers prepared masks that can be moved or redrawn. Corrections can be replayed or their effect nuanced with the opacity option.
– Duplication is advantageous to invert the coverage of the Auto mask to achieve a different correction on the rest of the image.
* Inverting (shift+ I) a Local Adjustment is interesting for drawing masks.
– Paint (brush or Auto mask) the area to be protected, then invert to correct the rest of the image.
Each mask can be modified, moved or deleted at any time.
Mask modification or the addition of protective masks is possible, except with “Control Line” and “Control Point”.
For these Local Adjustments:
– Invert the mask again to add a control or protection point.
The illustration shows an initial Local Adjustment on the character, which is duplicated and then inverted to correct the rest of the image.
Optimizing the use of Local Adjustments
* With high magnification rates, panZoom (image movement) by hold + drag is modified when a mask type is activated.
– First press the space bar to move around the image
* The Advanced History palette (Crl+ Z) détaille toutes les actions et permet le retour en arrière.
* When masks are difficult to create, don’t hesitate to multiply the Virtual Copies to punctuate the correct positioning of the mask and return to the previous state.
* When exiting Local Adjustments, the mask tool may still be active.
– Press Esc key (or Enter) to deactivate it
* Local Adjustments are displayed in the order in which they were created.
They are listed from top to bottom (Windows), bottom to top (MacOS). sic !
Each adjustment is named after the type of mask used.
– Rename the mask according to its use
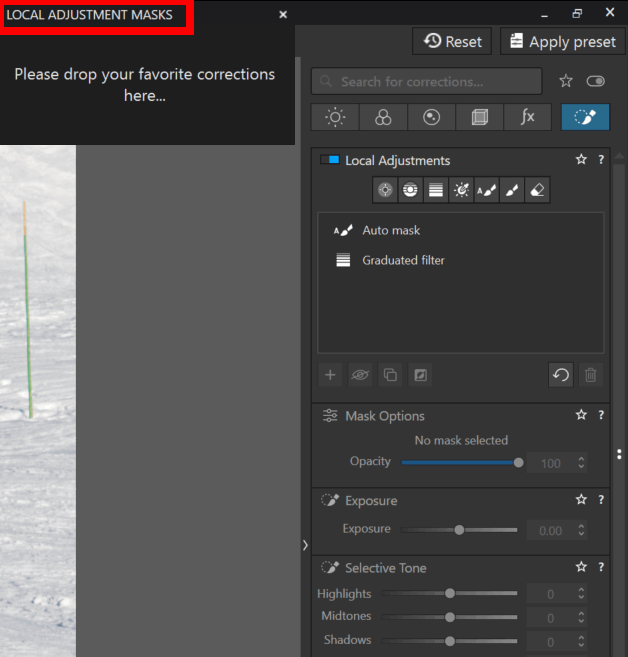
PhotoLab offers a Local Adjustments palette. It is identical to the SmartPalette and is of no interest.
On the other hand, users without a large screen are well advised to create their own palette of “Local Adjustments Masks“.
Permanently available on the left of the SmartPalette, it frees up space and gives access to all corrections.
– Create a palette – menu Palettes / Create a user palette
– Drag and drop “Local Adjustments” and “Mask Options” functions
– Close these two SmartPalette menu options
– Easier navigation between local corrections (fewer scrollbars)
– The choice of the mask to be corrected is direct
Another solution, depending on the height of your screen, is to declare all local corrections as favorites, except the HSL correction, which takes up a lot of space.
– Check mark “Favorite Corrections” to limit height
– Uncheck Favorite Corrections to access HSL color corrections
TuToDxO.com – All rights reserved – tous droits réservés.