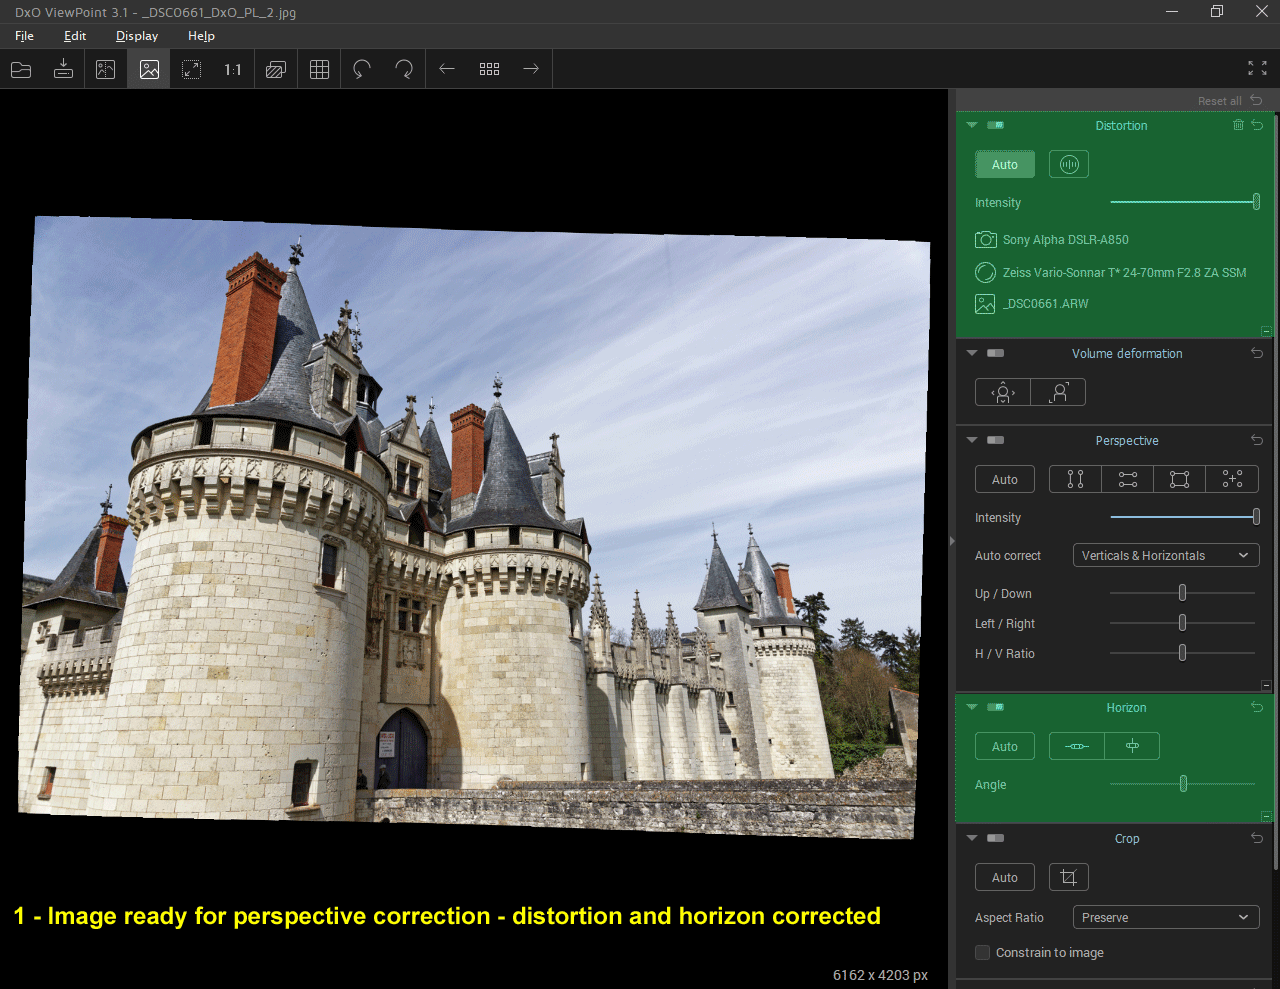
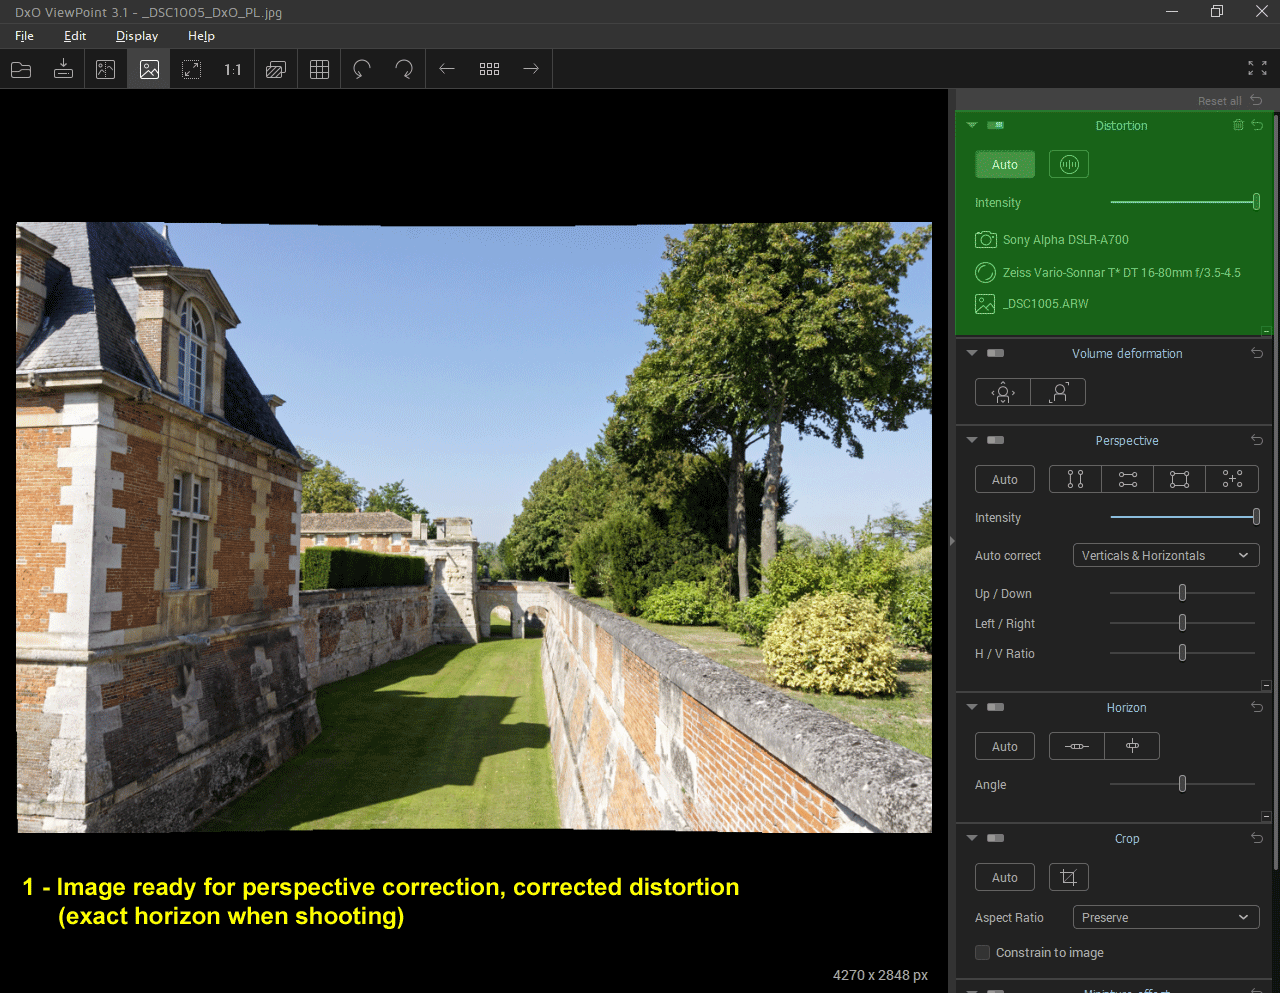
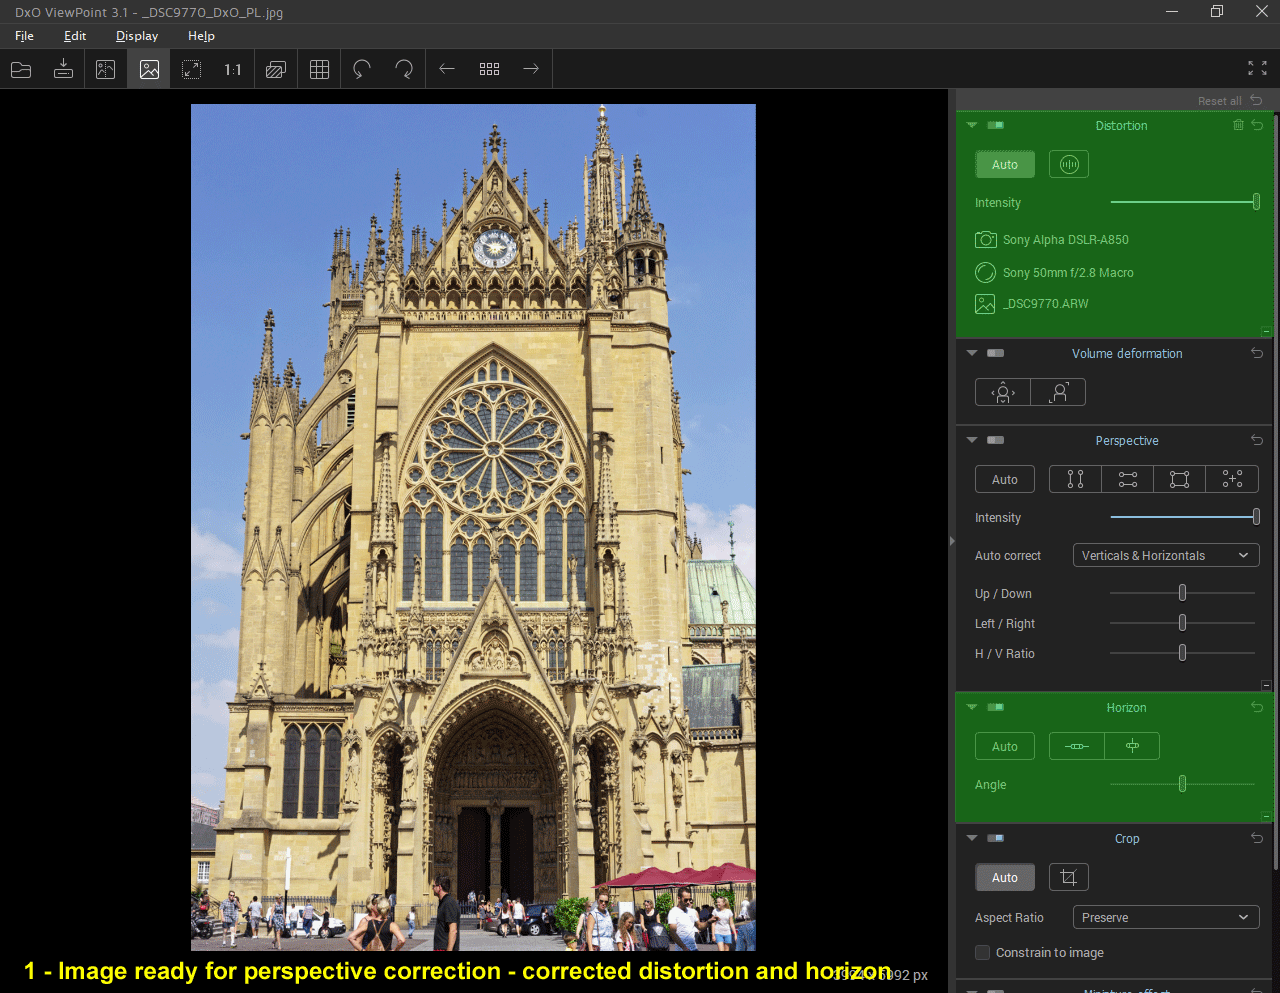
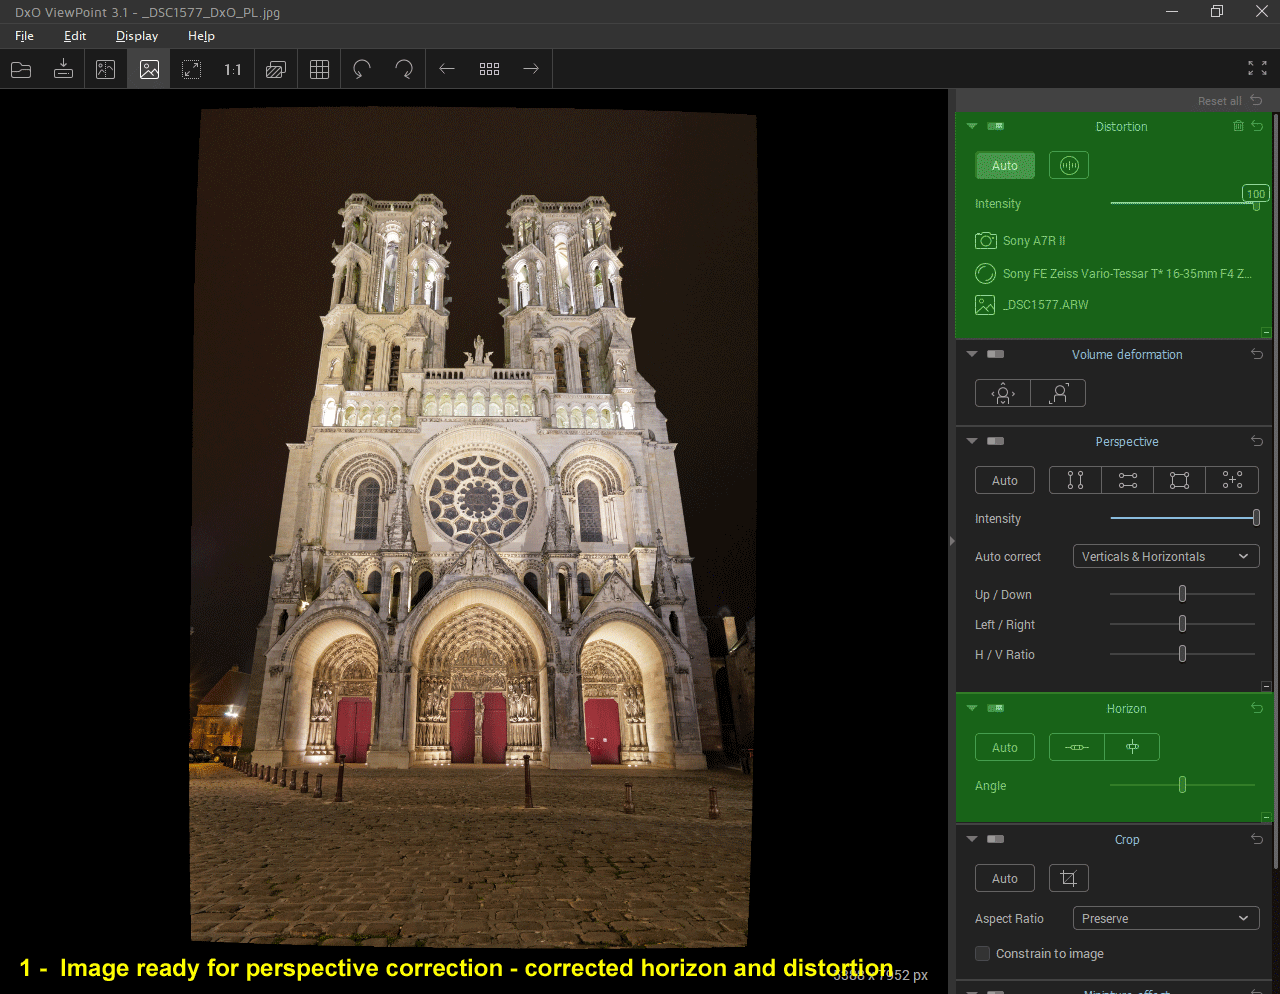
The scope of manual perspective correction is for expert users who wish to have control over the entire correcting process.
A successful manual correction gives the best possible result, which can be very close to what allows a tilt and shift lens.
These manual settings can also be used to fine-tune an imperfect automatic correction by only using one of these components (up / down + left / right).
Up / Down Correction
This is the essential adjustments of the perspective correction used in most cases!
The image swings around its median horizontal axis.
In palette “Perspective”
– “Up / Down” tool
– to the left (Top): the top of the image becomes more important; straightening of a downward shooting (most common case)
– to the right (Bottom): the bottom of the image expands; straightening a low angle shooting
* It is strongly recommended to use the grid to refine the accuracy based on the side elements.
Ensure a symmetrical correction where the verticals are perfectly corrected on the left and on the right. If this is not the case, it means that the skyline is not perfectly horizontal on the image.
A slight defect can be corrected by refining the angle value (Palette Horizon / Angle ).
* Horizon and perspective corrections can greatly reduce the usable area of the original image. It is possible to recover some by cloning “neutral” areas such as the sky. The crop is then airier.
See the
tutorial “Efficiency with PhotoLab – Horizon“
Left / Right Correction
The Left / Right correction is used primarily for façade (building / monuments) photos when the horizontal line of sight is not perfectly perpendicular to the facade.
This situation occurs frequently for tall monuments when the farthest point available for shooting is not in the axis of the facade. The horizontal lines then present unwanted vanishing lines.
This correction must occur after the Top / Bottom perspective correction and must always be moderate to remain natural.
In palette “Perspective”
– “Left / Right” tool
– to the left: the image is settled up on the right. The height of the subjects to the right of the image decreases
– to the right: inverse effect. the subjects to the right of the image take more importance
Horizontal / Vertical ratio
This tool modifies the proportions of relative width / height of an image. In most cases, straightening the perspective with ViewPoint’s tools is keeping the subject’s proportions.
Its effect is very (too) fast. It is to be used sparingly to make it natural to the stage.
In palette “Perspective”
– tool “H / V ratio”
– to the left, cup the image that loses a little height
– to the right stretches the image, always on the pitch.
Changing the H / V ratio affects the image’s initial ratio. Restore it with the crop tool.
The final destination of the image and the way to looking at may affect whether to change or not the aspect ratio.
For this example, a web screen view or an A4 print may justify a slight low angle stretch to emphasize the impression of height. But this is neither necessary and not desirable for a large format print to be exposed in optimal conditions, where the eye is placed at the bottom of the image as in reality.
TuToDxO.com – All rights reserved – tous droits réservés.