Processing an image with DxO PhotoLab.
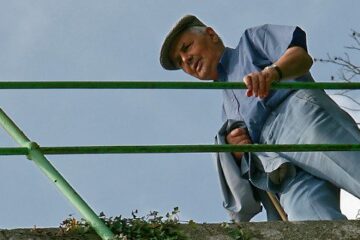
Find the atmosphere of the image at the time of shooting
This image has undergone a classic development in PhotoLab 1
and perspective has been changed with the DxO ViewPoint 3 plug-in.
Apply Local Adjustments
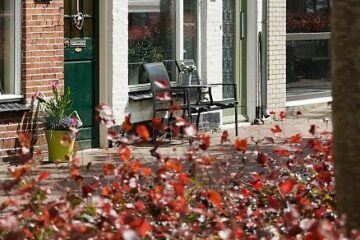
In this state, the picture corresponds to the mood of that day. But its low contrast drowns the subject. It is best to blur the background.

Darkening the sky > Graduated Filter inclined according to the roof pitch.
– Start the tool “Local Adjustments” in the top tool bar
– A: Right Click to open the radial menu and choose Graduated Filter
– Held Right Click on the handle (1) from the dotted line to adjust the angle
> Exposure -4 EV (2) allows you to emphasize the effect.
Erase the mask on the head of the statue and the wall on the left
– B: Right Click to open the radial menu and choose Eraser
Feathering 60% Flow 50% Opacity 100%
With full Opacity (3) to ensure erasure.
On the other hand, a less value for Flow (3′) to allow brushstroke application.
Feathering at 60% (3″) to allow brushstroke application without over-marking the border.
> Refit the exposure (2) Graduated filter à -1.5 EV for the good adjustment.
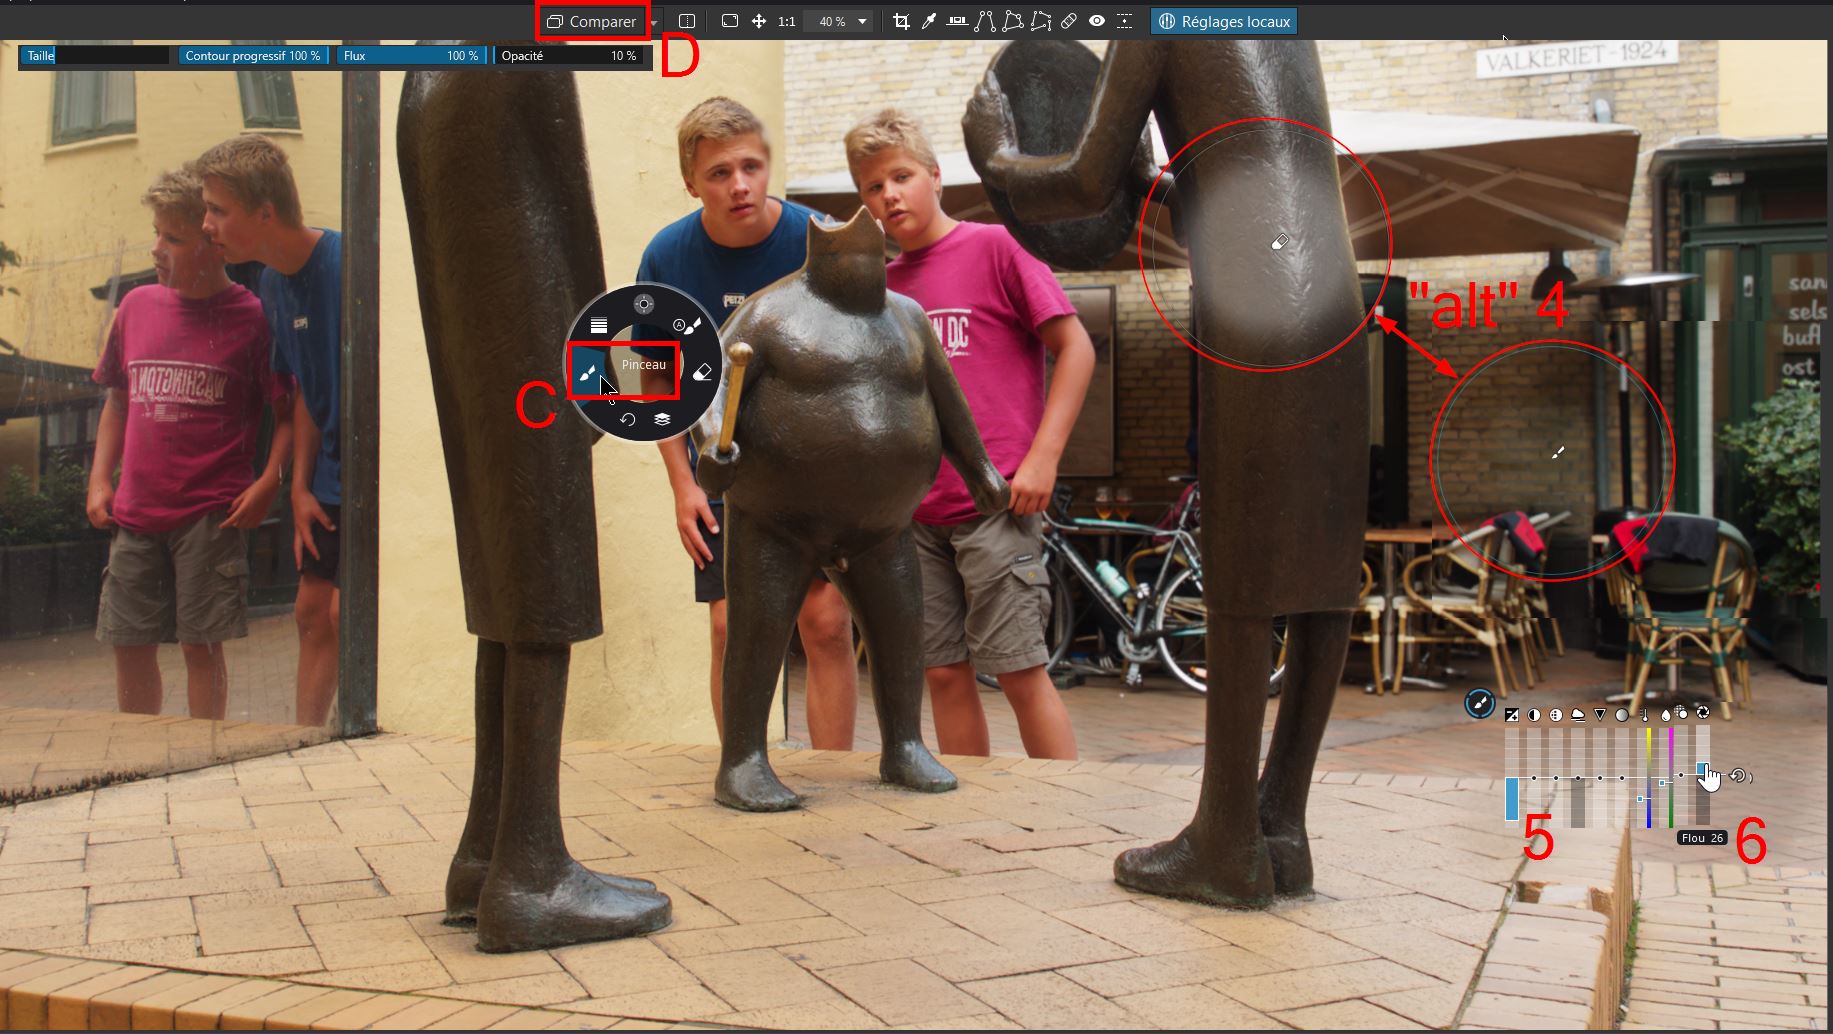
Blur the terrace too apparent > Brush (C) Flow 100% Opacity 10%
Choose a lower Opacity value because the blur cursor works very fast
On the other hand, Flow is on the maximal value to avoid brushstroke difficult to control with this Opacity rate.
> Set the Exposure sliders at-4 EV and Blur at 100% to control the mask application.
Back and forth between brush and eraser are needed to protect the boys and the statue.
– Hold down the “Alt” key (4) switch between the Brush tool and the eraser
– Work with a high zoom ratio and move through the image
Hold down the space bar and drag with Left click held down
– Activate the wheel to change the zoom ratio keeps the apparent diameter of the brush
– Ctl+ wheel change brush diameter
– Shift+ wheel varies the feathering brush ratio
! Brush values are kept independently for each tool.
> Exposure -3,5 EV (5) … but to one-tenth power!
Choose a zoom value at least 75% to assess blur quality
> Blur at 25% (6)
Erase once again this mask at the street level to give a more natural transition. Decrease Opacity.
> Eraser Flow 75% Opacity 50%
Compare (D) (Ctl+D Win /D Mac) Check Local Adjustment application throughout the process

Darken the chrome and bike can is too bright > Control point
The Control point principle changes the equivalent pixels (brightness, contrast and color) in the circle to those of the crosshair (7).
– E: Right Click to activate radial menu and choose Control point
Create a Control point group all responding to the same correction.
– Right Click on the can (7) and then 3 others clicks on highlights areas. Active Control point is a circle with a solid line > Exposure -2 EV (8)
A Control point (CP) from the group can be suppressed
– Press the “DELETE” key for the current CP
– An inactive CP, such as (9), cannot be deleted
All masks must be inactive to create a new one
or Click “New mask” (F)
Desaturate the red jerseys that draw attention > Control point
Contrast -70% Saturation -45% (10)
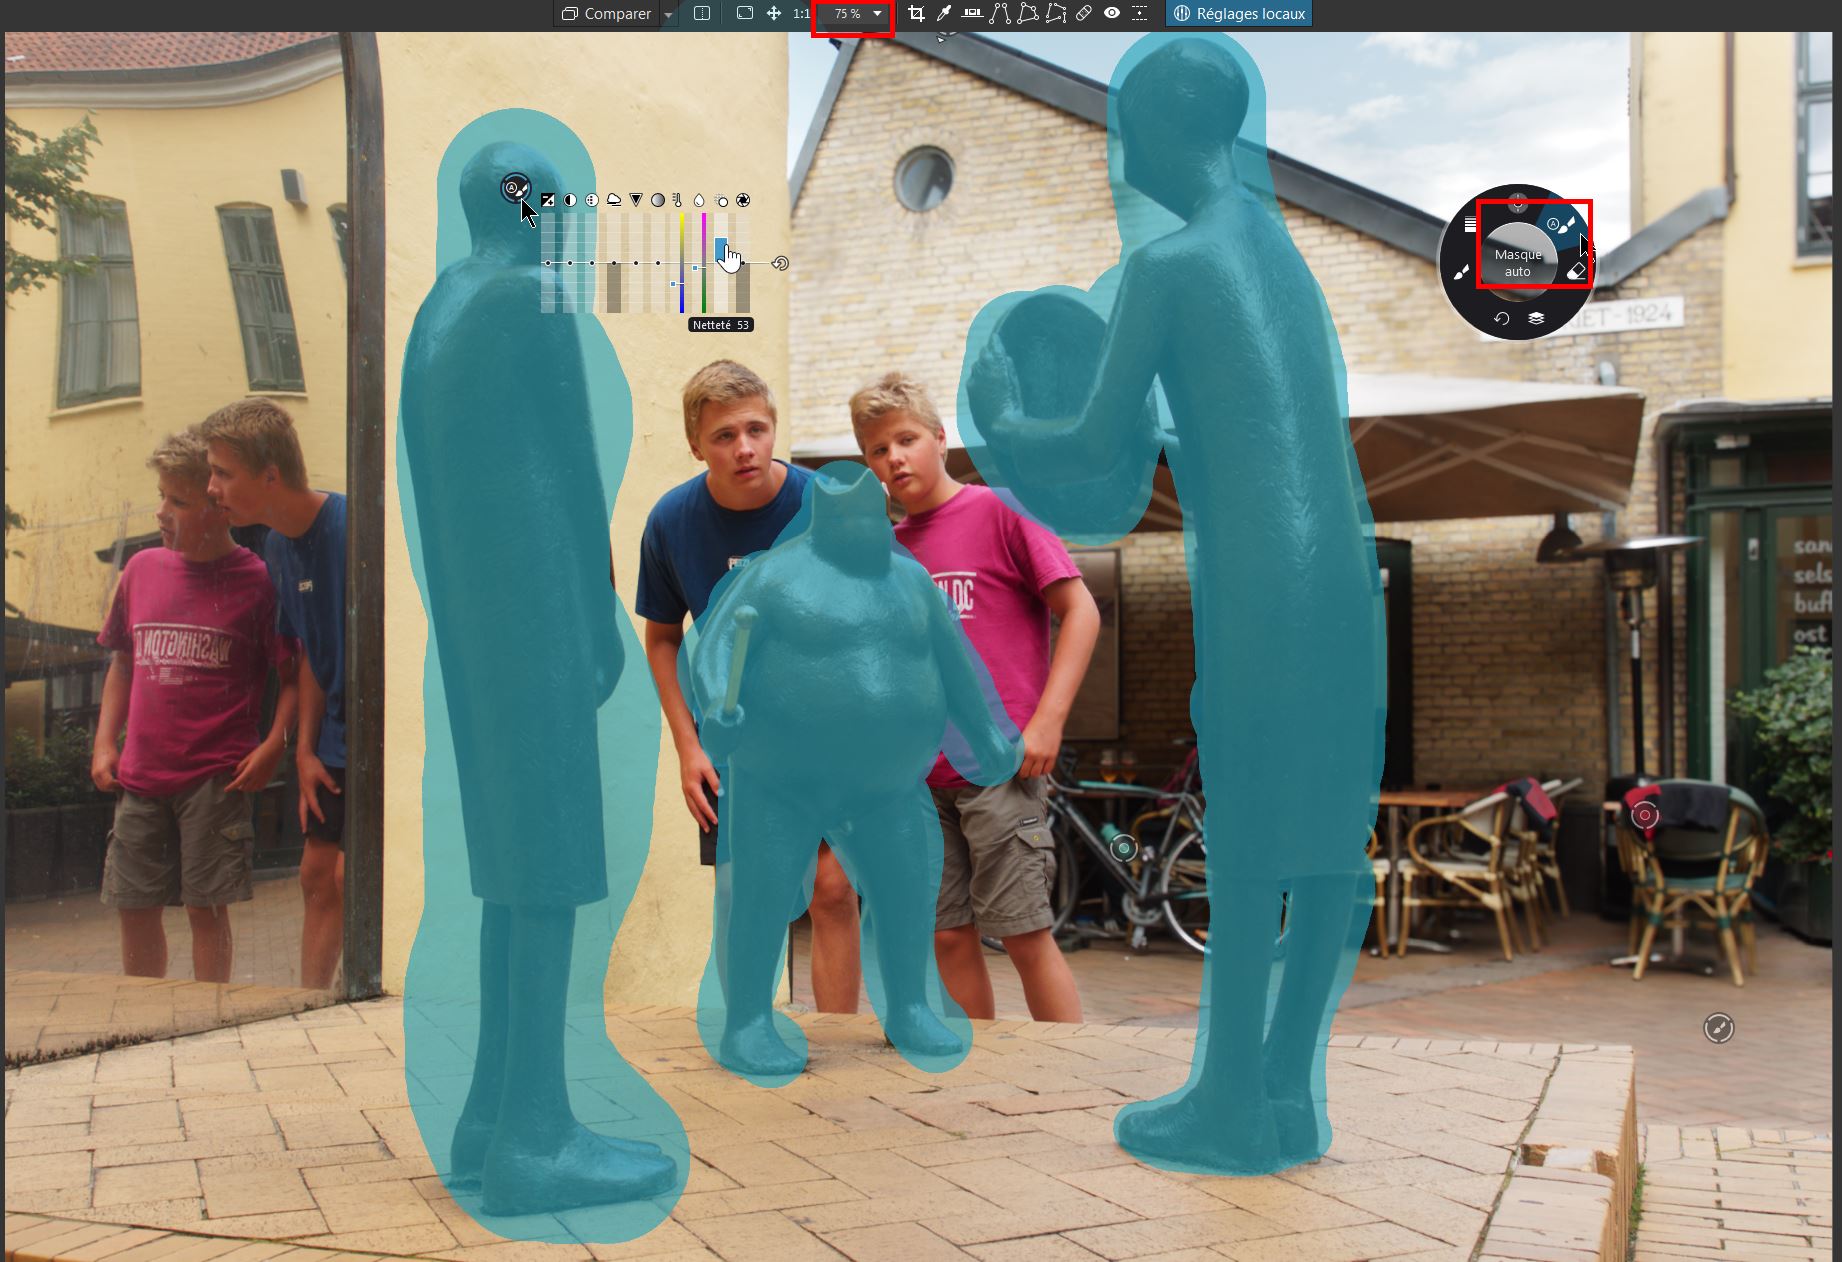
Give “pep” to bronze statues that do not “crunch” enough
> Auto Mask to automatically cut out the statue
This tool delimits its border according to the contrast.
> Sharpness +50%
ATTENTION: This effect is only visible at a zoom value of at least 75% !
– Close the “Local Adjustments” tool with the upper toolbar button or the “ENTER” key
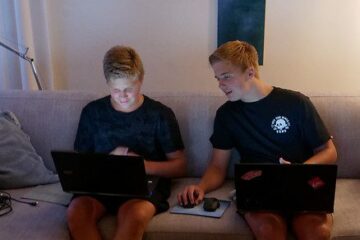
The image is ready, the subject is reinforced.

TuToDxO.com – All rights reserved – tous droits réservés.