Sommaire
Optimize screen
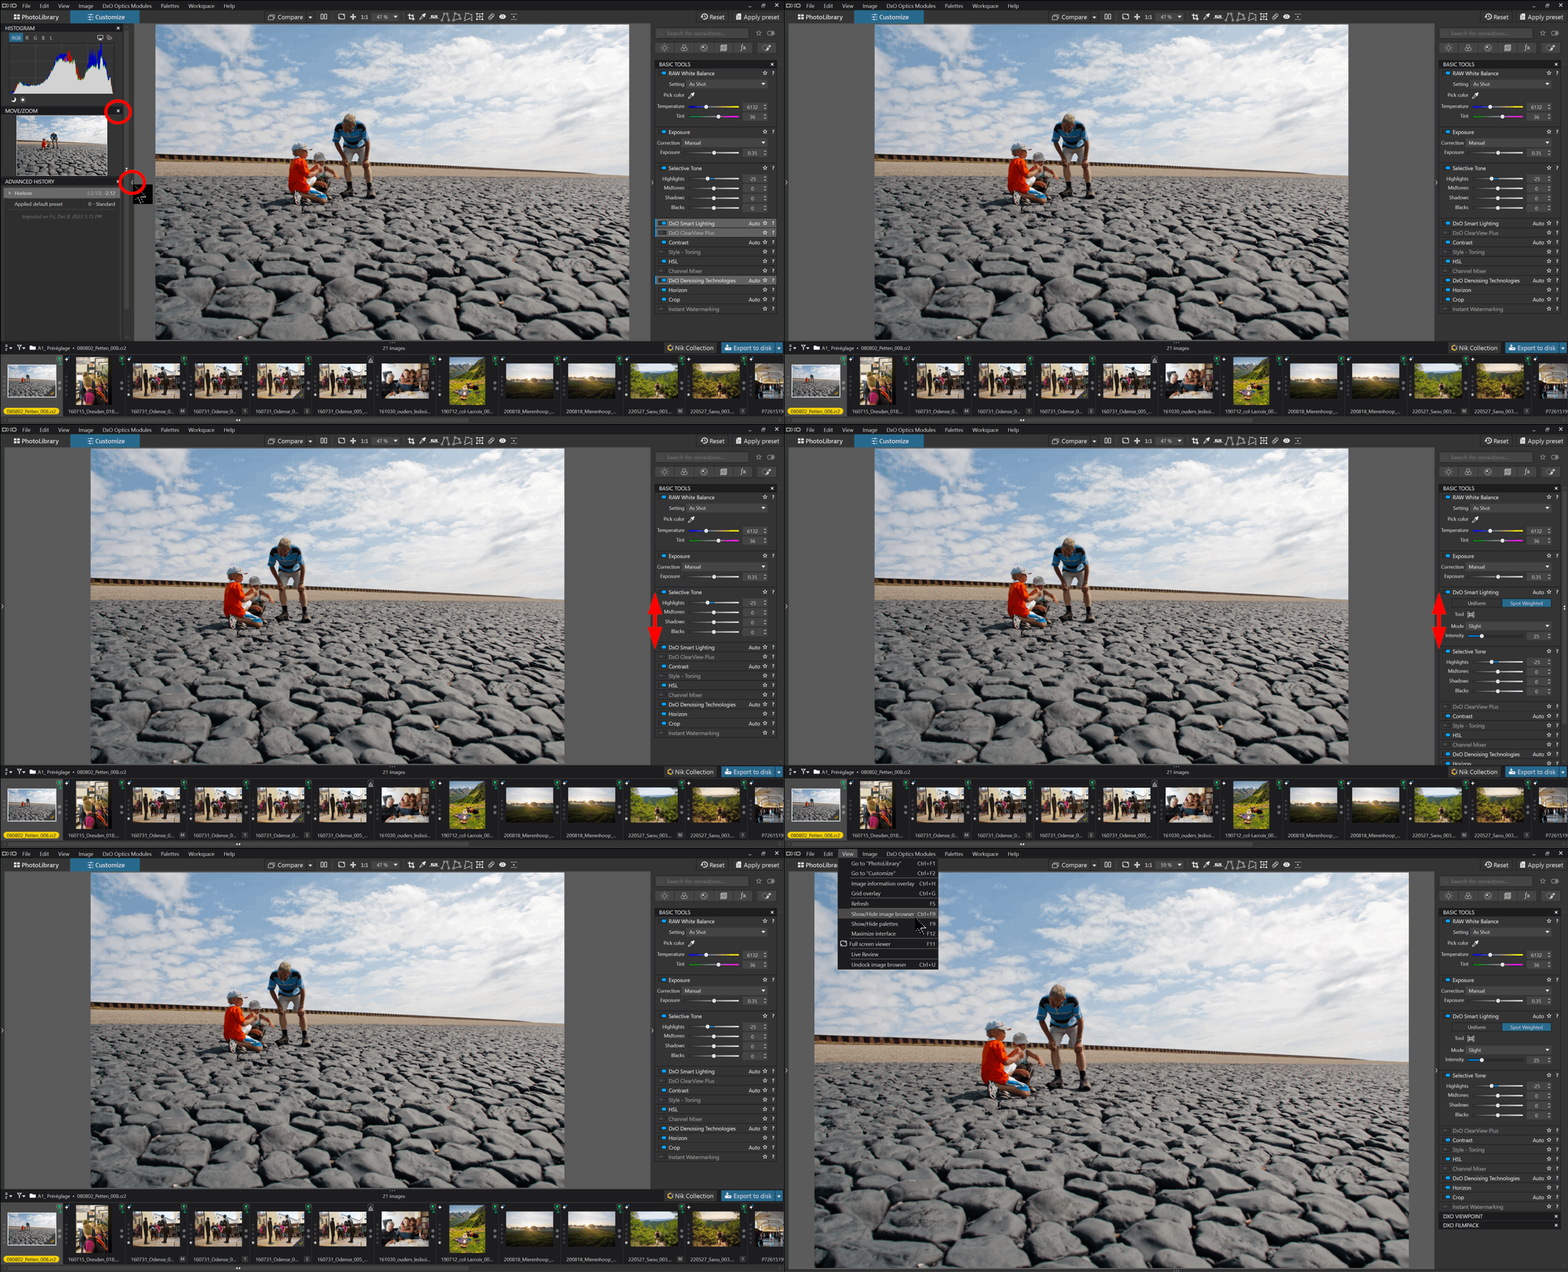
By default, PhotoLab’s Customize tab interface takes up a large part of the image display area. You can recover some of that space.
It is not always necessary to display the left pane.
– Click on the cross title of all palettes to close them OR
– Collapse the panel by clicking on the chevron
Palettes remain accessible through the Palettes menu
Similarly, the feature highlights can be disabled.
– menu Help / Show feature highlights to hide and redisplay them
The “Metadata” palette can be replaced by the properties window
– Menu: (Windows only) Image – Image properties (Ctrl+ I)
On the other hand, the “Basic tools” palette, which contains the most frequently used tools, can be expanded permanently (illustration).
– Menu: workspace – DxO Standard
– Double click on the palette title to expand /collapse it
– Menu: Workspace – Save workspace
This palette is very useful for beginners in photo development. It is then can be replaced by the SmartPalette described in the following article.
DxO made a mistake by positioning the Smart Lighting after the Selective Tone correction.Drag and drop it by its title one step higher.
Optimize the editing window by hiding the image explorer.
– Minimize the Image Explorer by dragging the top bar OR
– Type Ctrl+ F9 to hide it
– Move to the next image by pressing the > key

The following keyboard toggles are useful.
– menu: View – Maximise Screen (Windows: F12) Useful on a low resolution screen
– menu: View – Show / Hide all palettes (F9) / TAB)
– menu: View – Show / Hide Image Browser (Ctrl+ F9 /
– No menu on MacOS but the combination Shift+ TAB)
– Toggle between PhotoLibrary and Customize modes (Ctrl+Tab)
– Double click on thumbnail In PhotoLibrary to switch to Customize mode
Double Screens
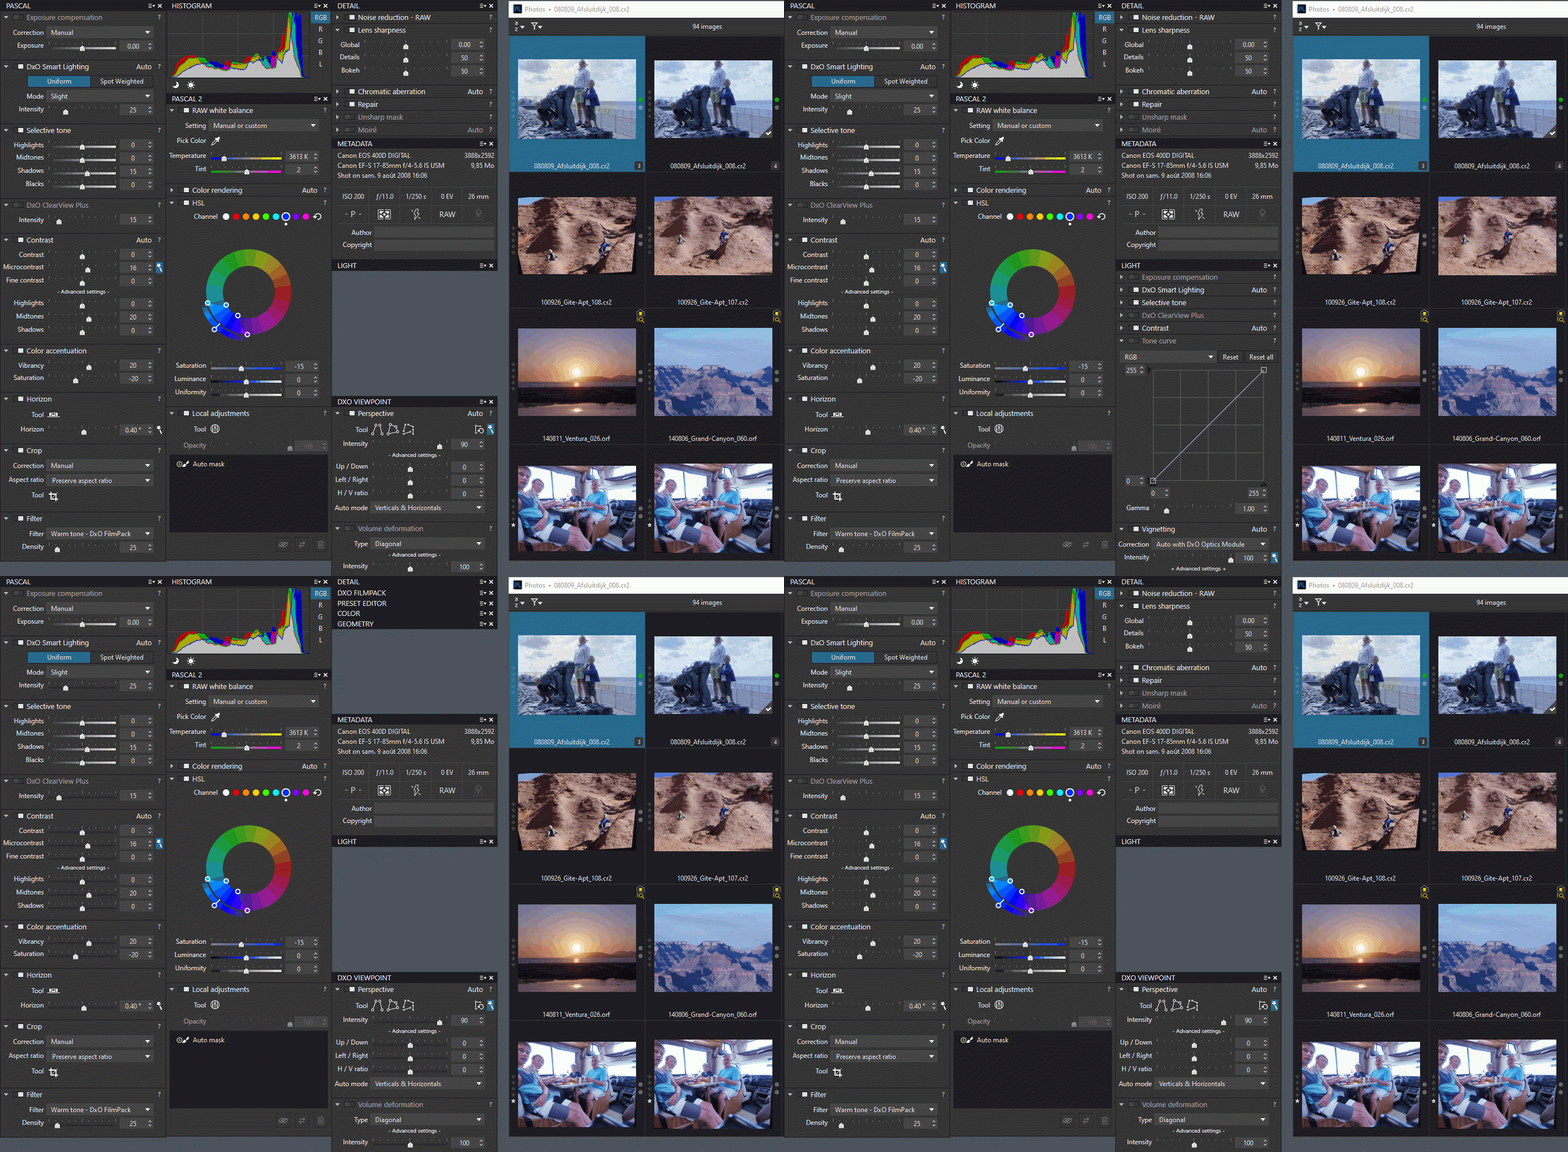
With two screens, the use of PhotoLab becomes more flexible by reserving one screen for palettes.
– menu: View – Undock Image Browser (Ctrl+ U /Cmd+ U) to detach / dock the Image Browser from the main window
– Drag the palettes by Clicking+ Dragging from the title to make them floating
– Menu: Workspace / Save workspace
All keyboard shortcuts are listed in the PhotoLab Help menu
– menu: Help / Shortcuts


TuToDxO.com – All rights reserved – tous droits réservés.


