DeepPRIME XD2s
The s in DP XD2s stands: second iteration of version 2 of XD (you follow!?).
Enhanced noise reduction designed to bring out detail and ensure smooth bokeh.
The (small) preview disappears in favour of the new Loupe tool.
Personally, I always call it “PRIME”, because you should always use the best debugger available, depending on the power of your machine.
According to DxO, the artefacts seen with the previous version of DP XD have disappeared.
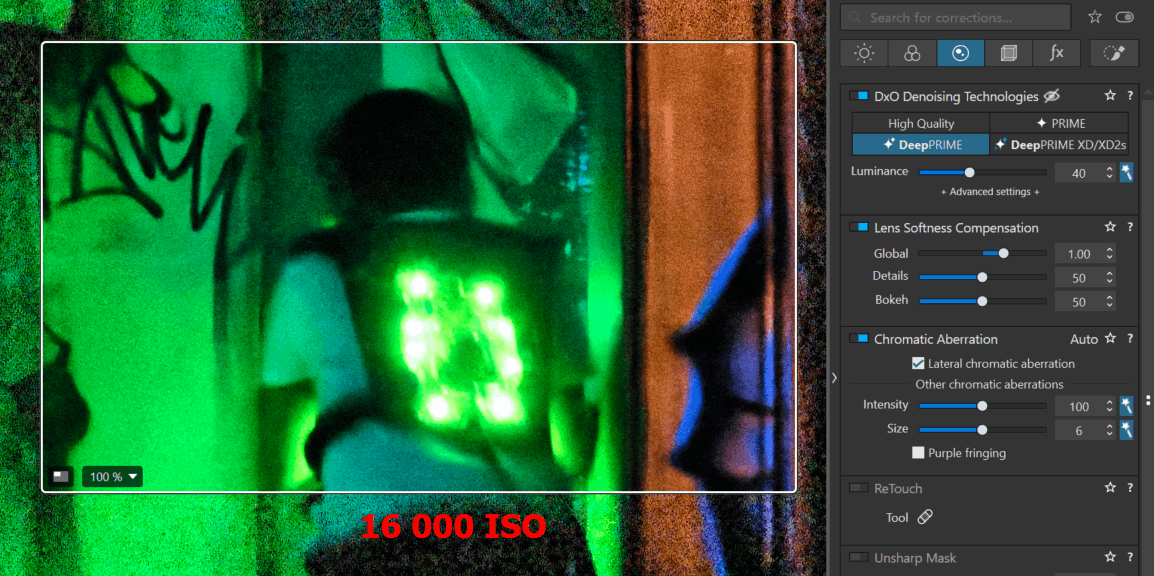
Note that X-Trans raw files are not supported by DeepPRIME XD2s. The DP XD algorithm is used.
No date has been announced, and I doubt we’ll even see it in a PL8 update.
Improved tone curve
The new Luma curve makes it possible to adjust contrast without affecting colour saturation.
It is shown in yellow and is accessed using the “L” button (new to the right of R V B).
The histogram is shown at the bottom of the curve.
When a new photo is edited for the first time, the histogram is not yet displayed.
– Create a point on the curve
– Press the DEL key or double-click to delete it if it is too early in the workflow to use it.
The tone picker returns the point on the curve according to its luminance.
The point is created and its position modified on the curve WITHOUT leaving the editing window.
– Choose the type of curve, RGB by default (the blue one in the illustration)
– Position the picker over the area to be detected
– Click to create the point on the curve without leaving the editing window
– Hold down to change the dropper icon
– Move the mouse up (or down) to change the brightness while staying on the image
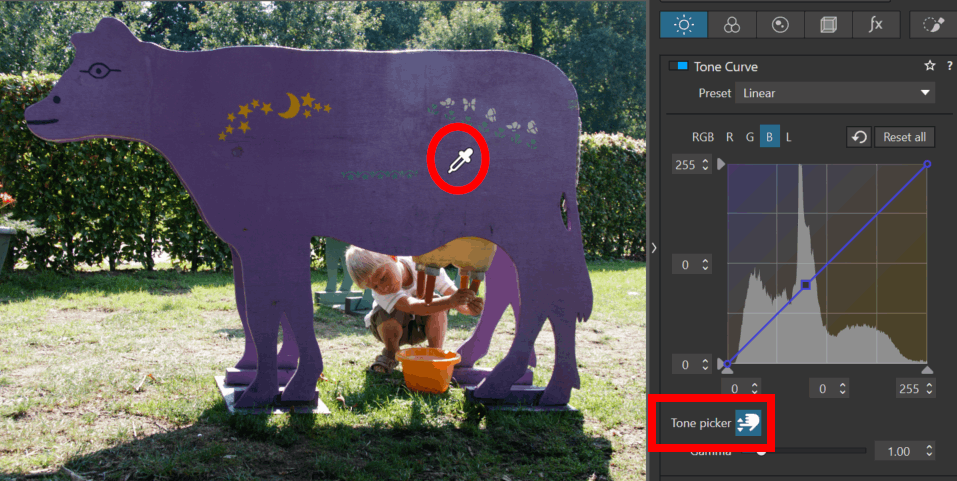
The size of the group of pixels considered is not known. The dropper averages several pixels but its radius is neither indicated nor configurable as it is for white balance.
* You can now enter a numerical value for the intermediate points, or increment step by step (after selecting the point).
* Comparison (Ctrl+ D/D) default setting is: With / Without curve corrections.
* Integrated presets : The tone curve tool includes a series of built-in presets. These provide quick starting points for common adjustments.
Custom presets can be created.
New Local Adjustments mask
The Hue mask allows you to select a tint independently of luminosity.
It is similar to a local Colour wheel and also gives access to all the other corrections (luminosity, sharpness and contrast) limited to a coloured area.
It is used in the same way as the Luminosity mask.
– Position the dropper on the image
– Refine with trapezoidal control or numerical values
– The eraser can be used to precisely define the zone
* Unlike the Luminosity mask that requires FilmPack, this new mask is included in PL elite.
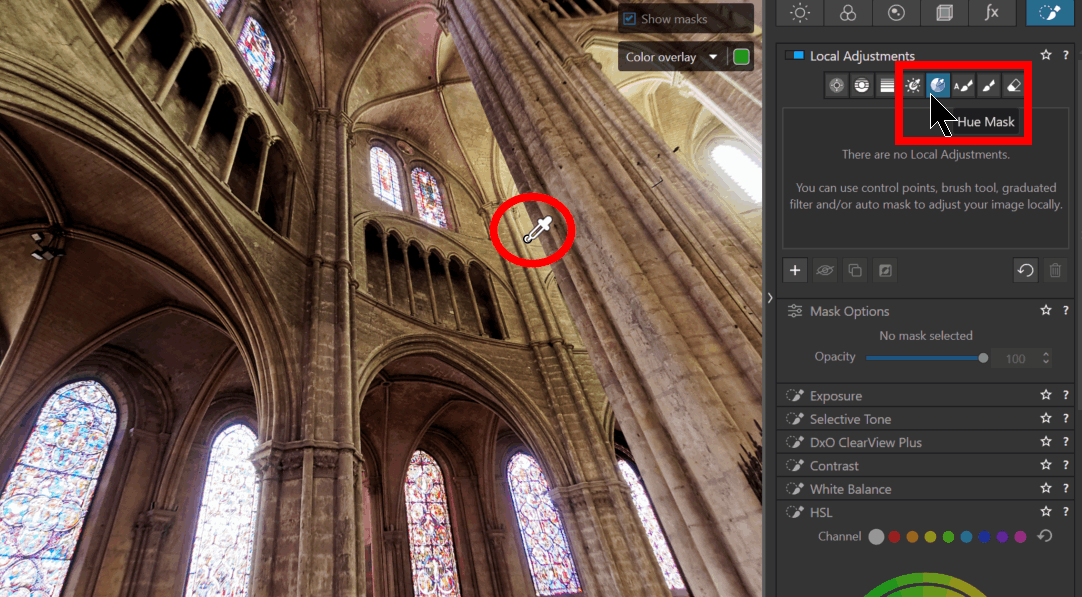
The illustration here shows an action on sharpness to indicate that it can be used on something other than colour.
See the tutorial Hue Mask.
General
Improving user-friendliness.
Simply hover your mouse over the options in the drop-down menus (e.g. the different colour rendering, LUT or SmartLighting modes, etc.) the viewer displays the potential changes in realtime.
* No selection required
* Not all palettes are implemented yet

The new Loupe tool lets you preview the effects of adjustments, especially denoising, in real time and take a close look at specific areas without having to zoom in and out constantly.
* The Loupe tool offers two size options (to remain fluid on modest configurations) and five zoom values (from 100% to 1600%).
* It can be activated/deactivated with the shortcut S.
– Click and hold to move it around the editing window
The magnifier cannot be moved to another screen.

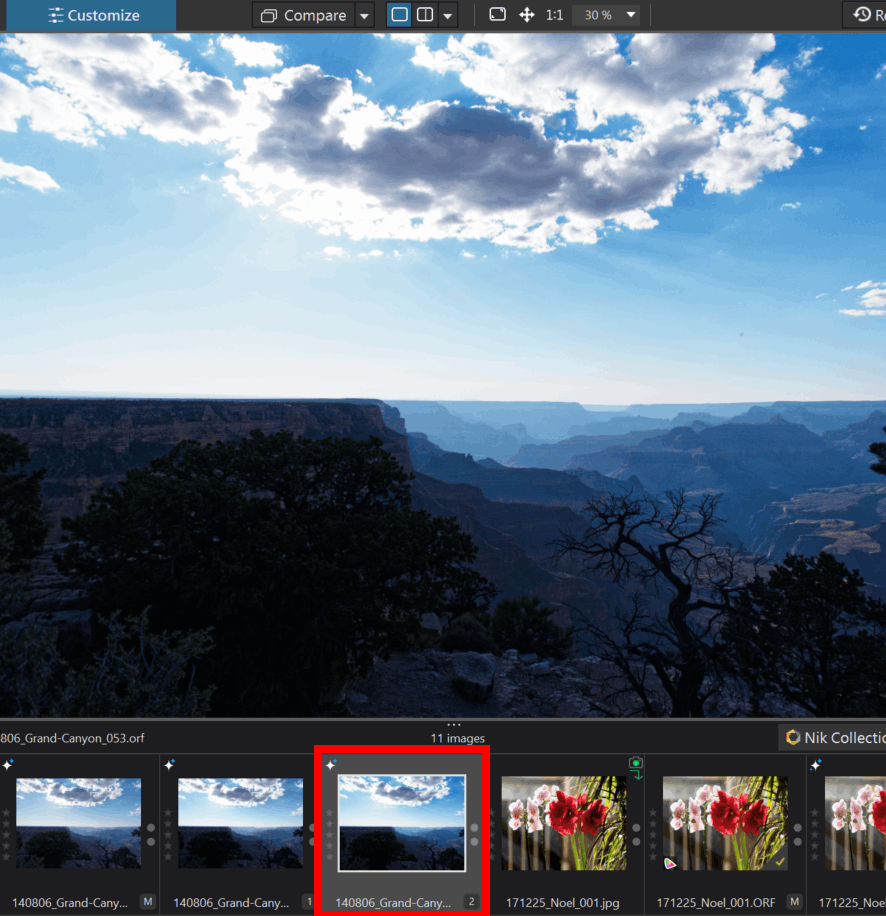
External Comparison references.
Comparison is no longer limited to virtual copies of an image.
Select another image from a thumbnail in the Image Explorer.
– Right-click Use current image as comparison reference
A R (Reference) appears on the thumbnail.
The tool offers four display modes: side-by-side or split views, top/bottom or left/right.
– Click the button again to review the modes, or shortcut ALt+C / Ctrl+ Shift+ C
– Shortcut C to return to a single view
This function is very useful for checking the unity of a series.
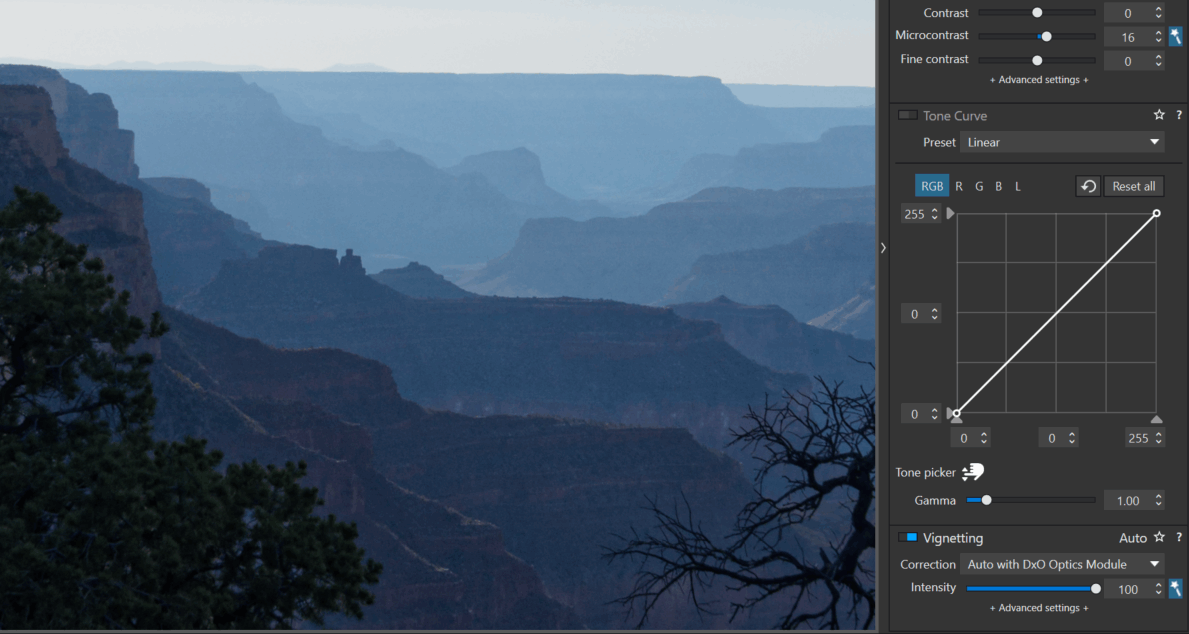
The Lens Sharpness algorithm (Lens Softness Compensation) has been revised.
According to DxO, the improved correction gets rid of peripheral halos and erases artefacts.
* Note that the latest PureRAW update already benefits from this..
Unified shortcuts
Shortcuts are unified for both OSes.
W: White balance
H: Force Horizon
R: Crop (Recadrage)
N: ReTouch (Repair tool)
Y: Red eye (Yeux rouges)
S: Loupe
C: Single view (exit Comparison mode)
ViewPoint
B: ReShape
E: Force parallel
T: Rectangle
K: 8 points tool
J: Mniature effect
TuToDxO.com – All rights reserved – tous droits réservés.